Windows 8 comes with a shiny new version of PowerShell, version 3. But while playing around with it, I have noticed a lot of scripts that I had written for version 2 are now throwing errors, so here’s how to get version 2 back while not losing version 3.
Launching PowerShell 3
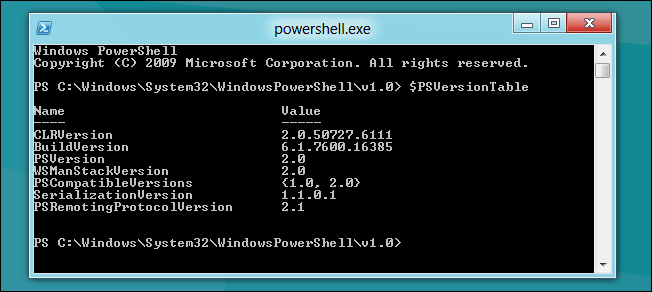
Because it's installed by default we don’t have to do anything special, just switch to the Start Screen and type PowerShell and hit enter. We can see our version by using the $PSVersionTable special variable.

Launching PowerShell 2
The awesome thing about Windows 8 is that Microsoft left the PowerShell 2 engine intact, that means we can easily access it. To get started create a new shortcut on your desktop.

The PowerShell directory has been pulled into our Path at system startup so we can reference the exe by name and pass it a version parameter, then click next.
PowerShell –Version 2

Name the shortcut PowerShell 2 and click finish.

If you double-click on your new shortcut and check the PowerShell version with $PSVersionTable, you will see that its now on version 2.

That’s all there is to it.