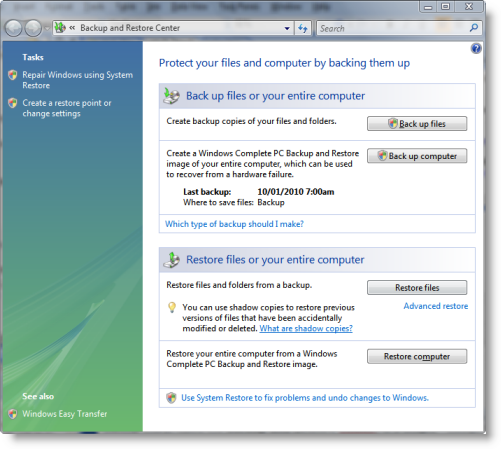
Compared to the backup tools that come with previous versions of Windows, Vista’s Backup and Restore Center, is a delight - except for one small problem: It can't do a complete system (image) backup to another computer on the network. In this article we learn a workaround to this limitation. Backup and Restore Center The Windows Vista Backup and Restore Center introduced to Windows users the ability to backup your entire computer: files, programs, settings, registry - everything. Running The program created a VHD file - an image of your entire C drive. In the event of a theft or hard disk failure, your system could be restored to the exact state it was in when the last backup was taken (using the Windows Recovery Environment on your Windows installation DVD). This VHD image file would typically be enormous (the combined size of all files on your C drive), and so a location to store this file would need to be chosen carefully. Unfortunately, the only options presented to you were other hard disks in your system (such as an internal D drive or an external USB drive) or a collection of blank DVDs.

An obvious omission was the ability to back up across a Local Area Network, to another computer such as to a file server or backup server. Only Microsoft would be able to tell us why this option was omitted. Thankfully it has been added into Windows 7. If your backup regime requires that your Windows Vista system be backed up across a network, and you're not willing to shell out for third-party software, such as Norton Ghost or Acronis True Image, then you'll need to use the little-known Windows system backup utility called wbadmin. wbadmin is a command-line tool, and so to use it you will probably choose one of the following methods:
Given that most people who need to back up a system won't want to do it just once, and will more than likely have a need to do it on a regular (daily or weekly) basis, this tutorial will explore the third option: Automating a regular full system backup using the Windows Task Scheduler To schedule a regular backup, we must first open the Windows Task Scheduler. This is easily located by clicking the Start button and typing "task":

The Task Scheduler window then opens. To schedule a backup, click on Create Basic Task...

The Create Basic Task Wizard starts and prompts us for a name by which we would like to refer to this task. We can give it a name such as "Weekly Full System Backup":

We then click the Next button and are prompted for how frequently we would like to like to run the backup. Obviously the choice made at this point is up to you (or your IT department), but for this tutorial we will choose Weekly:

We click the Next button and are prompted to complete the scheduling details. We will choose Every Wednesday morning at 4:30am:

We click the Next button and are prompted for what type of task we want to perform. We will choose Start a program:

We click the Next button and are prompted for the name of the program we wish to run, as well as any command-line arguments (parameters) we will to provide to the program. We could browse for the program, but in this case it's easier to simply type its name: wbadmin.. The command-line arguments we will specify in this example are:
start backup -backuptarget:\\servername\sharename -include:c:
-user:MYNAME -password:MYPASSWORD -quiet
These options mean the following:
There are many other options for the wbadmin program. These are all detailed on Microsoft's TechNet page (link below). It is not necessary to specify anything in the Start in box:

That is all the information that the wizard requires. We click the Next button to see a summary of the task details:

...and then click the Finish button to return to the list of active tasks:

It may be necessary to double-click on the newly created task to adjust some of the properties or conditions, specifically:
The task will now run every Wednesday morning. You can also run it manually whenever you want by opening the Windows Task Scheduler, locating the task in the list and clicking the Run button in the Actions pane to the right. Once the task has completed, you can navigate to the network computer/folder that you specified in the task settings and see the results. You will see a folder called WindowsImageBackup, and within that a sub-folder with the same name as the computer you were backing up. If you back up several machines with this technique, you will see one sub-folder for each computer. Within each sub-folder you will see a subfolder called Backup with a date in its name. That is where your image files are located, along with some XML housekeeping files. The backup files are easy to identify, as they are many Gigabytes in size and have a VHD extension.

Notes: