Quick Links
Windows Server 2008 R2 and later releases of the product ship with a virtualization platform called Hyper-V, which works quite well since it's built into Windows. Today we're going to show you how to install it.
Note: this is part of our ongoing series teaching IT administration basics, and might not apply to everybody.
Installing Hyper-V
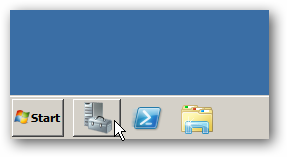
Launch the Server Manager, by clicking on the pinned icon or using the Start Menu.
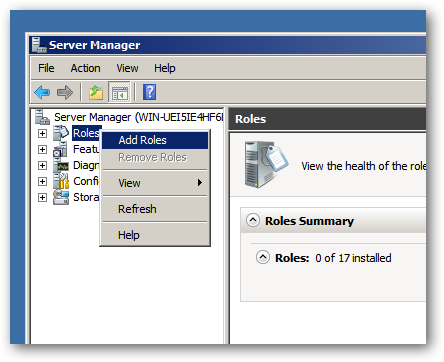
When the Server Manager launches, right-click on roles and select Add Roles from the context menu.
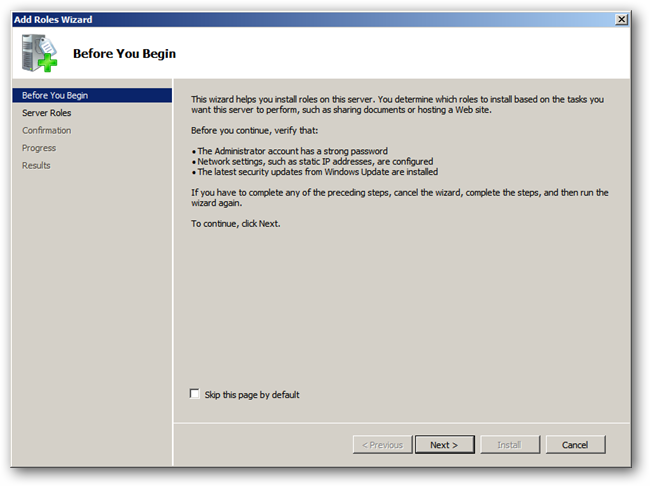
Click next on the Before You Begin screen.
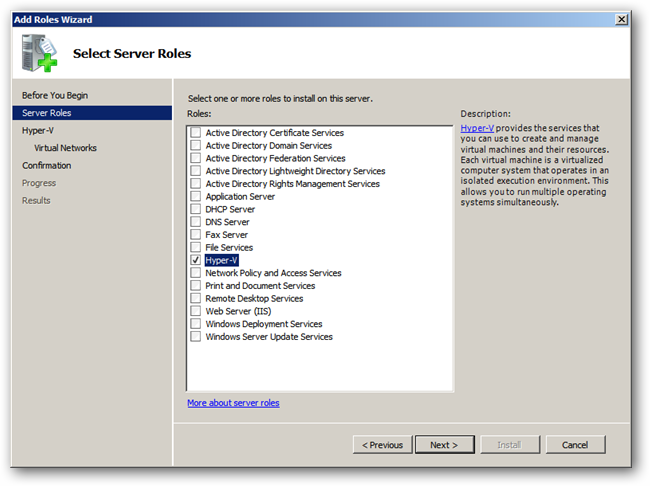
Now select Hyper-V from the list of available roles and click next.
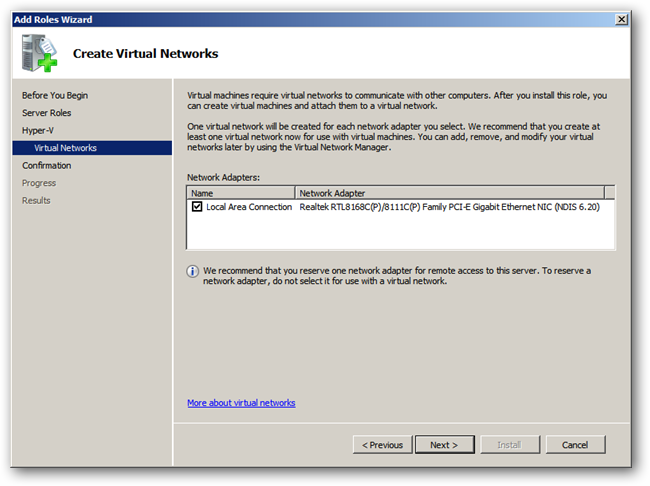
Click next to skip past the Introduction to Hyper-V, now select the network adapter that you want to use to create a virtual network for your virtual machines, then click next.
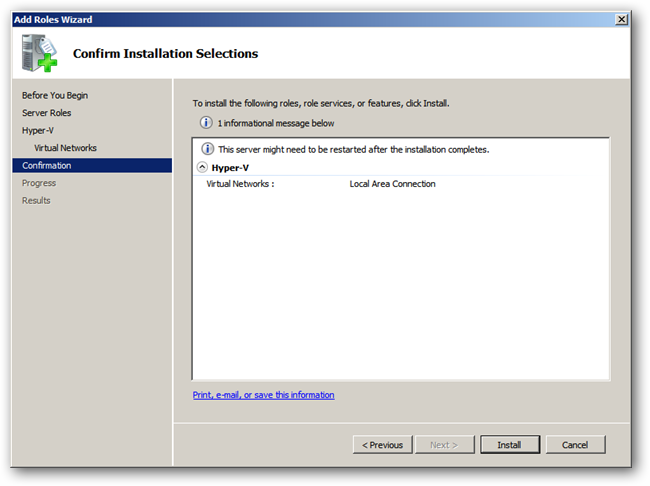
You will be asked to confirm that you want to install Hyper-V, just click the install button to kick off the installation.
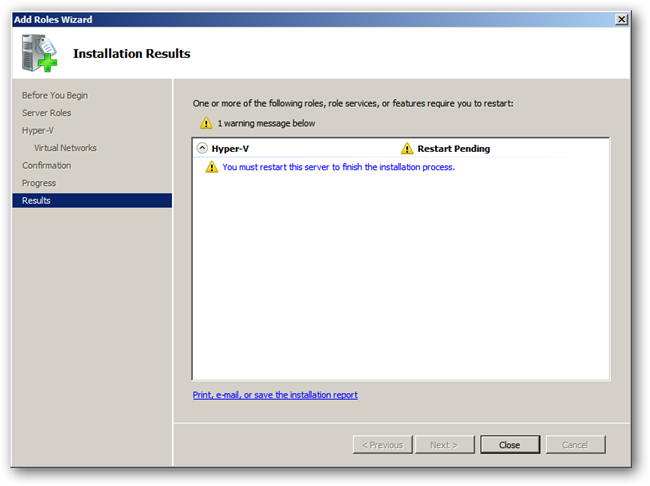
When the installation is complete you will be told that you need to restart the server, you can do so by clicking on the link.
When your server has restarted you will be able to manage Hyper-V from Server Manager under the roles node, you can also manage it by launching a dedicated Hyper-V MMC from the Administrative Tools section of the Start Menu.

