Windows 8 and 10 includes Hyper-V as a virtualization platform, but since not everybody will use this feature, it's not enabled by default. Here's how to enable it on your Windows 8 or Windows 10 PC.
Confusion
Hyper-V only allows you to create a new virtual machine on 64-bit versions of Windows 10 or 8, but the client tools are available on both versions. If you are running 32-bit, you'll be able to do the installation, but you won't be able to actually use it to create a new VM.
Installing or Enabling Hyper-V
Hyper-V is installed in the add features section of the add or remove programs dialog. To get there we need to open a run box by pressing Win+R, now type appwiz.cpl and press enter. You could also get to the Programs and Features box through Control Panel or the Start search, but this is easy and geeky.

Once the Programs and Features dialog opens, select the Turn Windows features on or off link on the left hand side.

When the Windows Features open, check the Hyper-V option. Then click Ok.

Windows will now add the Hyper-V binaries to your Windows installation.

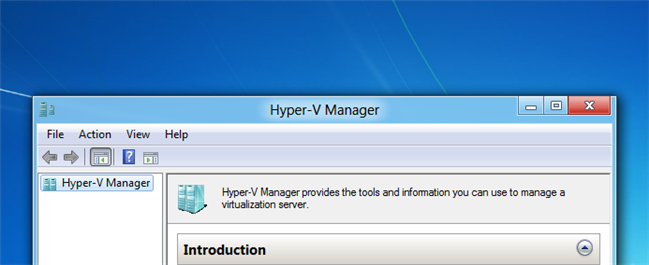
You can now launch the Hyper-V manager from the Metro dashboard, or from the Start Menu in Windows 10.

