Quick Links
Not all apps run in the foreground. Some sit quietly in the background, doing work for you with an icon in the Notification Area--also commonly (but apparently incorrectly) known as the System Tray. Windows helps you manage this clutter, controlling which icons appear on your taskbar and whether certain system icons appear at all.
In Windows 10
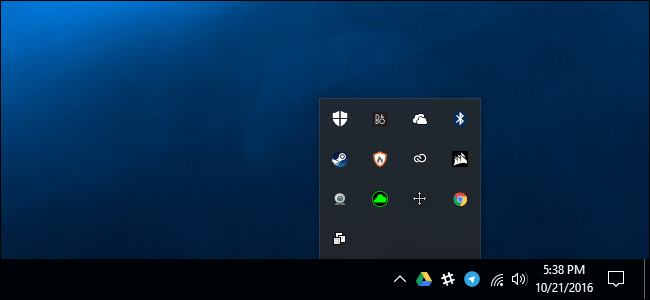
Windows automatically hides many icons in the notification area to free up space on your taskbar. To see all your notification area icons, click the up arrow to the left of your notification area icons.
You can quickly customize whether an icon appears on your taskbar or this tray by dragging and dropping it between the two areas.

On Windows 10, you can access more detailed setting by right-clicking the taskbar and selecting "Settings".

This takes you straight to the Settings > Personalization > Taskbar screen.
Scroll down to the "Notification Area" section and click the "Select which icons appear on the taskbar" link.

Use the list here to customize which icons appear on the taskbar. Icons set to "On" will appear on the taskbar, while icons set to "Off" will be hidden behind the up arrow.
If you'd rather have Windows always show these on the taskbar, enable the "Always show all icons in the notification area" slider at the top of the screen. The up arrow will vanish and all your open notification area icons will always appear on your taskbar.

To customize the system icons--for example, the clock, volume, network, and power icons--go back to the previous pane and click the "Turn system icons on or off" link under Notification Area.
Use the options here to configure which icons are shown. The options here work differently--if you disable an icon here, it won't appear in the notification area at all--not even behind the up arrow. If you enable a system icon here but disable it on the "Select which icons appear on the taskbar" screen, it will be shown behind the up arrow.

In Windows 7 and 8
Windows 7 and 8 also hide icons behind the up arrow to save taskbar space. Click the up arrow to see all your notification area icons.
Control whether an icon appears on your taskbar or this tray by dragging and dropping it between the two areas.

To further customize your notification area icons, click the "Customize" link behind the up arrow. You can also right-click your taskbar, select "Properties", and click the "Customize" button in the Taskbar and Start Menu Properties window that appears.

You'll see a list of the icons that have appeared in your notification area. To have an icon always appear on your taskbar, select "Show icon and notifications" for that icon. To hide an icon behind the up arrow except when it needs to show you a notification, select "Only show notifications". To hide an icon behind the up arrow and stop it from appearing even when it wants to show a notification, select "Hide icon and notifications".
To have Windows always show all running notification icons on the taskbar and not hide any behind an up arrow, activate the "Always show all icons and notifications on the taskbar" option. If you want to undo your changes later, click the "Restore default icon behaviors" link here.

The system icons built into Windows--such as the clock, volume, network, power, and action center icons--are configured separately. Click the "Turn system icons on or off" link at the bottom of the window to configure them.
To hide an icon, select the "Off" option for that icon here. This screen works differently from the first one. When you disable an icon here, it will vanish completely from your taskbar and won't even appear behind the up arrow.
For example, if you set the Volume icon to "Off" here, it won't appear on your taskbar at all. If you set the Volume icon to "On" here and the Volume icon to "Show icon and notifications" on the first screen, it will appear on your taskbar. If you set the Volume icon to "On" and set it to "Hide icon and notifications", it will be hidden behind the up arrow.

Remove Running Programs From the Notification Area Entirely
If you really want to clean up your notification area, you can close applications entirely and prevent them from automatically starting with your computer--which will free up some system resources, too.
You don't want to close all the applications running in your notification area. Many of these applications are useful for one reason or another. For example, many hardware drivers include hardware utilities that run in the background and stay in your notification area. Or some apps may allow you to sync your files in real time, like Dropbox. These are the kinds of things you'll want to keep open.
To close applications running in your notification area, you can often just right-click them and select "Exit" or "Quit". If you go to that programs options, you may find a preference that controls whether or not it appears in your notification area, or whether it starts with Windows.
Windows 8 and 10 also have an integrated startup manager built into the Task Manager. Use it to quickly control which applications run when you sign into your computer. On Windows 7, this manager is part of the msconfig tool rather than the Task Manager.
