Quick Links
At this point, Google Chrome is prolific. You likely use it on your desktop computer and laptop, as well as any mobile devices you may have. Keeping things in sync between all of your devices is easy-peasy, thanks to Google's handy sync settings.
It's worth noting that everything we're going to cover here should be enabled by default. If you're having an issue or turned some of these settings off in the past, however, this is how it's done---no matter if you use Windows, macOS, Linux, iPhone, or Android.
Step One: Enable Sync on the Desktop
We have to get this shindig started over on the desktop, so fire up Chrome on your PC and let's do this thing.
First, click the three button menu in the top right corner, then scroll down to Settings.

At the top of this menu you'll find some tweaks specific to your Google account. The second click-able box is "Advanced sync settings"---go ahead and give that little guy a click.

This is where you can tweak all of your sync settings. You can either change the dropdown box to "Sync everything," which is what I roll with, or use the "Choose what to sync" option to pick-n-choose your stuff.

If you go with the latter, make sure the "Bookmarks" option is checked. If you went with the former, well, you should be good to go.
Click the "OK" box to close everything up, and you're finished here.
Step Two: Check Your Sync Settings on Mobile
Now, jump on over to your phone. It doesn't matter if you use Android or iOS, these settings should be basically the same.
Again, tap the three-dot button in the upper corner, then tap "Settings."


At the very top of this menu, you should see your name and "Syncing to <email address>" dialog. Tap that.

This will display account-specific settings. Just below your accounts, there is an option that reads "Sync." Tap it.

First, make sure the "Sync" option is toggled on.

Below that, you can specify data types to sync. Again, I roll with "Sync everything," but you can disable this to pick and choose what you'd like---just make sure "Bookmarks" are enabled.
Once everything looks kosher, you can back out.
Step Three: Make Sure Everything Synced Properly
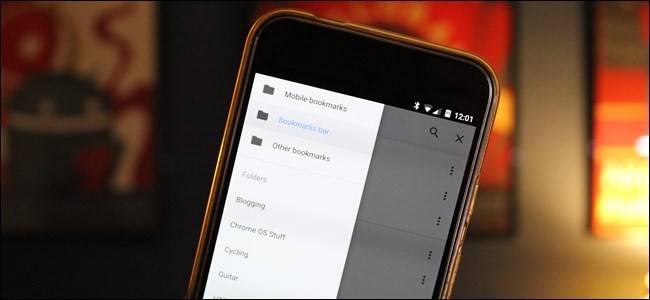
With all that done head back into Chrome's menu on mobile, then select "Bookmarks."

It should automatically open to "Mobile Bookmarks," but you can access the rest of your bookmarks by opening the hamburger menu on the left side.


If everything synced properly, all of your bookmarks should now show up here. You're done!