Windows 7 has a ton of great features, most of which are really obvious—but there’s also some great features hidden away that you might not know even exist. One of these is that Windows 7 can automatically change your default printer based on which network you’re connected to.
The normal use case, of course, is to switch printers depending on whether you are at home or at work, but this feature is especially useful if you use one of the many print-to-PDF solutions—you can continue to print things even while you aren’t connected to any network.
Note: this does not work for Home edition of Windows 7, and Obviously it only applies to laptop PCs, since nobody carries a desktop around with them from location to location.
Switching Your Default Printer Automatically
Head into the Devices and Printers panel, and then just click on one of the printers, which will enable more buttons on the toolbar. Now you can select the “Manage default printers” button.

In here you can change the radio button to “Change my default printer when I change networks”.

And now you can select a network in the first drop-down, and then select the printer you want to assign to that network in the drop-down box. The neat trick is to select the “No network” item in the drop-down box for anytime you aren’t connected—this is what I use to assign my print-to-PDF as default when I’m offline.

At this point you can see I’ve got my home office network set to print to our printer, and when I’m offline, the default is to print to PDF instead.

Not that I really print very often.
Using the Default Printer
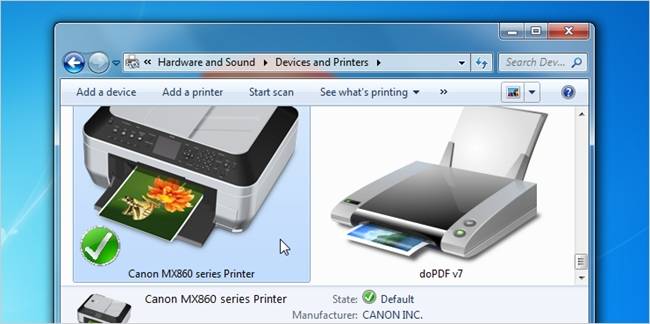
There’s really nothing you have to do—the default printer will switch back and forth depending on the network. For instance, in this screenshot I’m not connected to any network, and my default printer is now set to doPDF.

And now when I connect to my home network…

The default printer immediately changes.

Very useful!