Quick Links
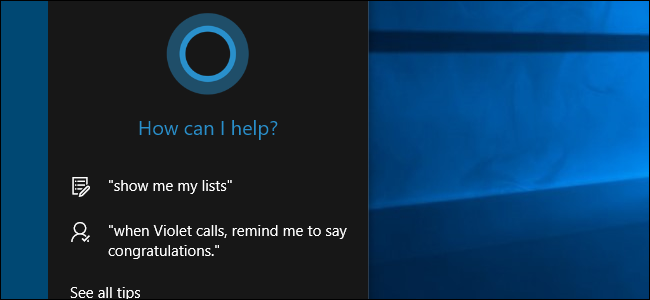
Cortana in Windows 10 is more than a simple search feature. It’s a personal assistant similar to Siri on iOS or OK Google on Android. Information entered into Cortana is stored on your PC and in your Bing account so results can be customized to you.
Cortana can be useful, but if you don’t want Cortana’s search history to be stored, you can clear the information that Cortana stores about you. Here's how to clear Cortana’s search history on your PC and in your Bing account.
Clear Cortana’s Search History on Your PC
To clear Cortana’s search history on your PC, open the Start menu and click the “Settings” gear icon.

On the Windows Settings dialog box, click “Privacy”.

In the list of options on the left, click “Speech, inking, & typing”.

Under Getting to know you, click “Stop getting to know me”.

A dialog box pops up above the Stop getting to know me button, making sure you want Cortana to stop storing your personal information. Click “Turn off”.

This method not only clears Cortana's search history, it also stops Cortana from gathering any more information about you. There is no separate setting to just clear the search history. So, if you only wanted to clear the search history, but want Cortana to continue learning about you, click “Get to know me” to turn the search history back on. The popup dialog box shown in the above image displays again with a “Turn on” button. Click that button to re-enable Cortana’s search history. Note that Cortana has to start getting to know you from scratch again.

You can close the Settings window now, if you want, by clicking the “X” button in the upper-right corner of the window. However, if you want to clear the personal information Bing has stored online about you, leave this window open and continue on to the next section.

Clear Cortana Data Collected in Your Bing Account
Data collected by Cortana on your computer has now been deleted, and no more information will be gathered, if you didn't allow Cortana to get to know you again. However, any data already collected is also stored in your Bing account. To delete data stored in your Bing account, click the “Go to Bing and manage personal info for all your devices” link under Manage cloud info on the Speech, inking, & typing settings screen.

If you have multiple browsers installed on your PC, the following dialog box may display asking which app you want to use to open this link. Select the browser you want to use and click “OK”.

Because you have to be logged into your Microsoft account to use Cortana (even with a local Windows account), you should automatically be taken to the the Bing account personalization page. Scroll down to the Other Cortana Data and Personalized Speech, Inking and Typing section and click “Clear”.
NOTE: If, for some reason, the Personalization page does not automatically display, you should see a screen asking you to sign in to your Microsoft account. Click “Sign in” and then enter your Microsoft email and password.

The following dialog box displays, making sure you want to clear your Cortana data. Click “Clear” again to do so.

A message displays in the Other Cortana Data and Personalized Speech, Inking and Typing section indicating your recommendations have been cleared.

If you allow Cortana to get to know you again, the data collected on your computer is stored in your Bing account again. Simply follow these instructions again to clear your data on Bing if you don’t want your data stored there. Unfortunately, there doesn’t seem to be any way to allow Cortana to store data about you without it being stored online in your Bing account.