Quick Links
If you've tampered with your Chromebook---to install Windows on your Chromebook, for example---you may have replaced its BIOS with a third-party option. Here's how to roll all your changes back and turn that Windows or Linux PC back into a Chromebook.
If you haven't tampered this heavily with your Chromebook, you can factory reset it the normal way. The following guide is intended for those that have installed a different BIOS and operating system altogether.
Step One: Restore Your Chromebook's Original BIOS
You can restore the BIOS using the same script you used to replace your BIOS in the first place. That script, if you recall from our guide, creates a backup copy of your BIOS, making it easy to restore. However, this script must be run from a Linux system with a full Bash shell, so you won't perform this step from within Windows.
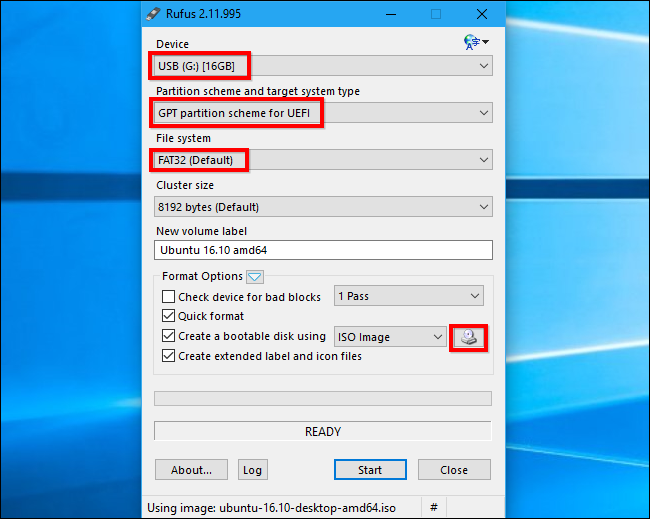
Instead, you'll want to boot your Chromebook into a Linux environment. We'll use Ubuntu as the example, but other Linux distributions should also work fine. Download an Ubuntu ISO and the Rufus utility. Launch Rufus, select a USB drive, and pick "GPT partition scheme for UEFI" as well as "FAT32". Click the button to the right of "Create a bootable disk using" and select your downloaded Ubuntu ISO. Click "Start" when you're ready.
Rufus will ask you if you want to copy the image in ISO mode or DD mode. You can choose the default "ISO image mode" and continue.
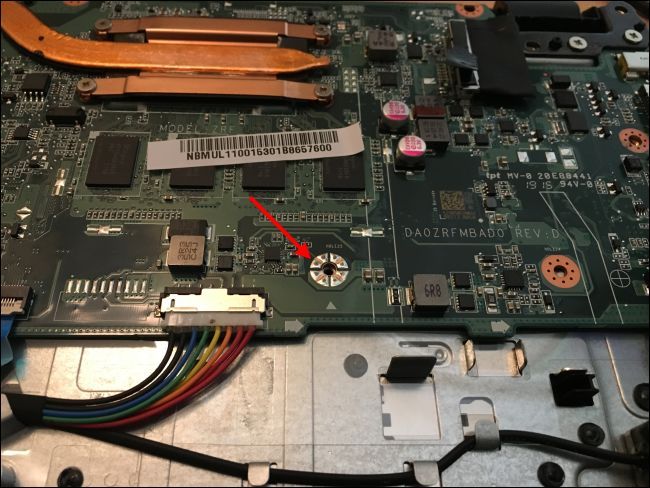
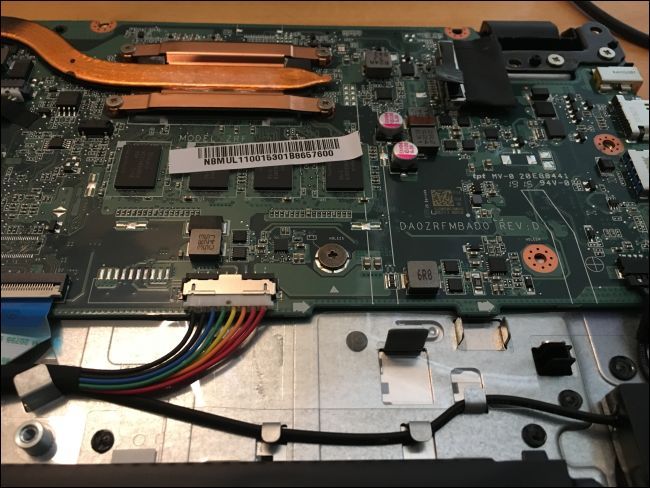
NOTE: If you reinstalled your Chromebook's BIOS write protect screw, you'll need to remove it before flashing the original BIOS. If you left the write protect screw off, you can continue.
When you're done, connect the USB drive to your Chromebook and reboot. The BIOS should automatically boot from the USB drive. If it doesn't, press any key at the start of the boot process, select "Boot Manager", and select your USB drive. Select "Try Ubuntu Without Installing" to get a live Ubuntu desktop.
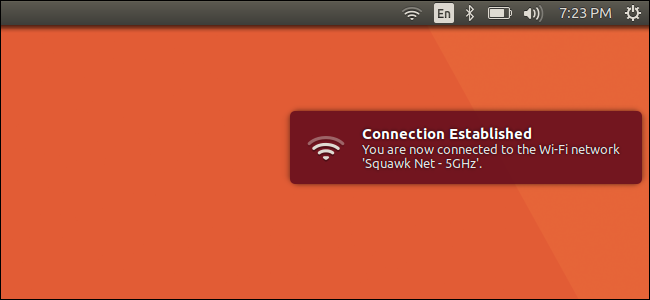
Click the Wi-Fi icon at the top right corner of your screen and connect to your Wi-Fi network when you reach the desktop. This will give the Linux system internet access, which it needs to download the script.
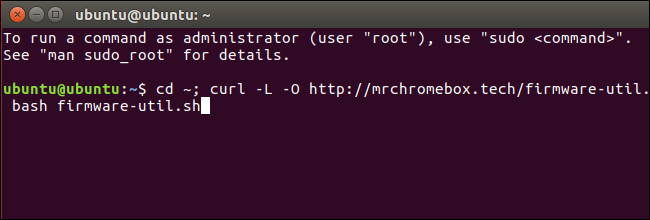
You now now run the same script you ran earlier. Open a Terminal window in Ubuntu and paste the following command, pressing Enter afterwards.
cd ~; curl -L -O http://mrchromebox.tech/firmware-util.sh; sudo bash firmware-util.sh
This command changes to your home directory, downloads the http://mrchromebox.tech/firmware-util.sh script file, and runs it with root privileges. Consult the developer's website for more documentation about how the script works.
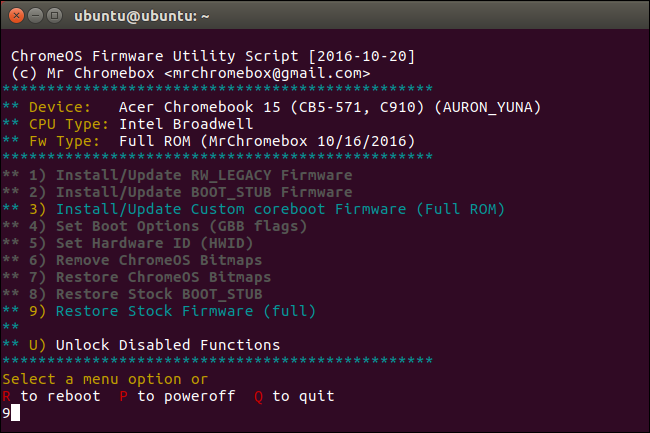
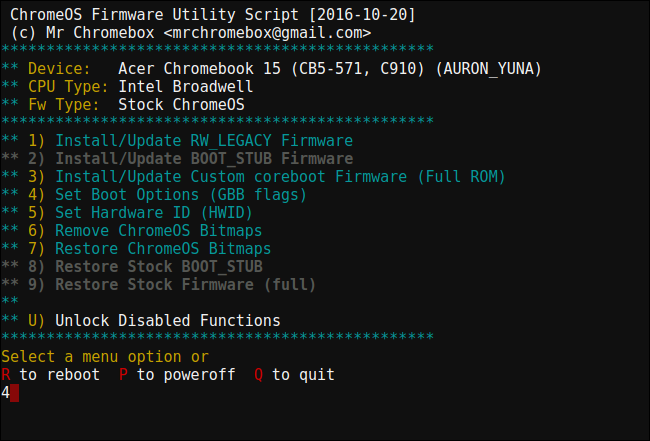
The script will download and run, presenting you with a helpful menu.
Use the "Restore Stock Firmware (full)" option. Type "9" and press "Enter" to run it.
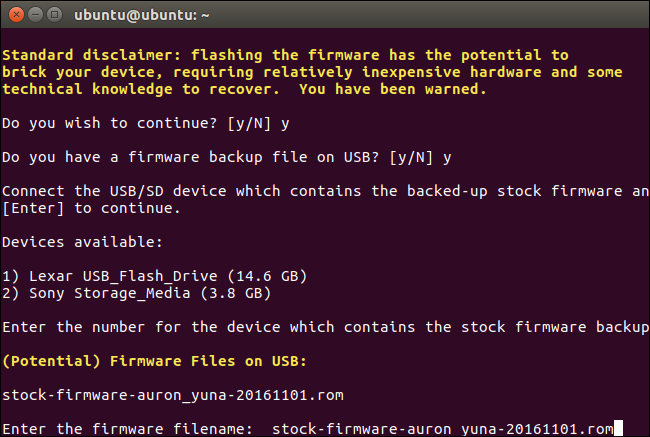
Answer the script's questions, connecting the USB drive containing your BIOS backup file and pointing the script at it. The script will flash the backup BIOS back onto your Chromebook.
If you've lost your backup copy of the original BIOS firmware, the script can attempt to download and install copies from the Internet. Just tell the script you do not have a firmware backup file when it asks. Downloading the original BIOS from the Internet only works for devices using the Haswell, Broadwell, or Baytrail architectures at the moment, according to the script's documentation.
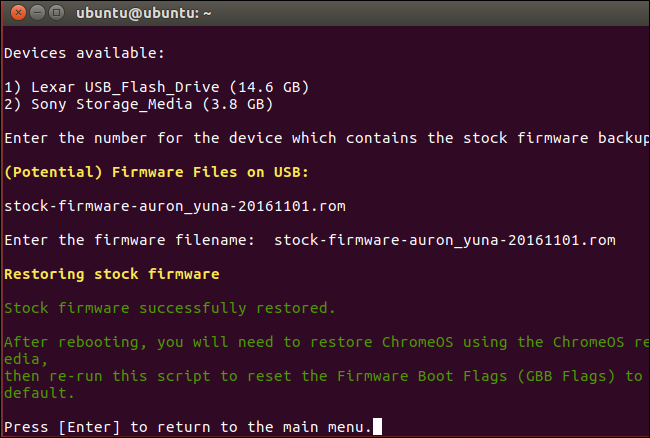
The process should complete successfully. You'll be told you need to restore Chrome OS using the Chrome OS recovery media, and then re-run this script to reset the firmware boot flags.
You can now shut down your Chromebook.
Step Two: Restore Chrome OS
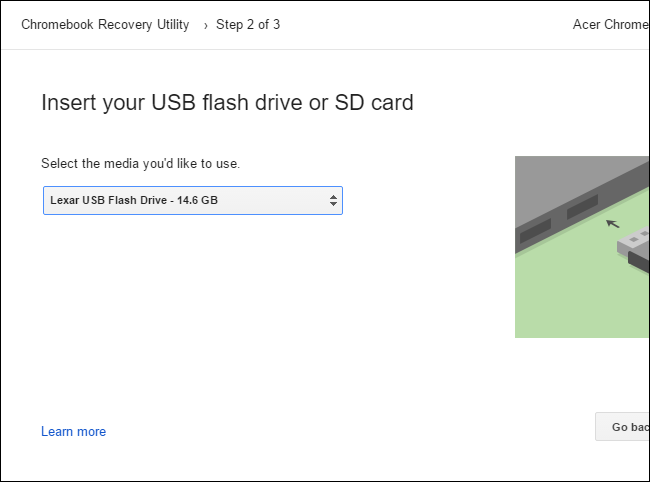
You'll now need to create the Chrome OS operating system using recovery media. You can do it on any computer---Windows, Mac, Linux, or Chromebook---with the Chrome browser installed. Head to the Chrome Web Store and install the Chromebook Recovery Utility Chrome app to get started.
Launch the app and connect a USB drive. This USB drive will be erased as part of this process. You can use the same USB drive you used for Ubuntu earlier, if you like---Ubuntu will be erased from it, but you won't need Ubuntu again for this process.
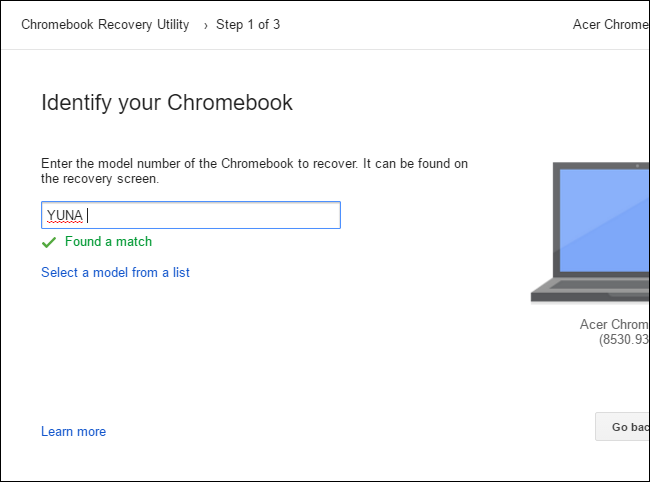
Find your Chromebook model in the Chromebook Recovery Utility application. You can pick it from the list or just enter the codename.
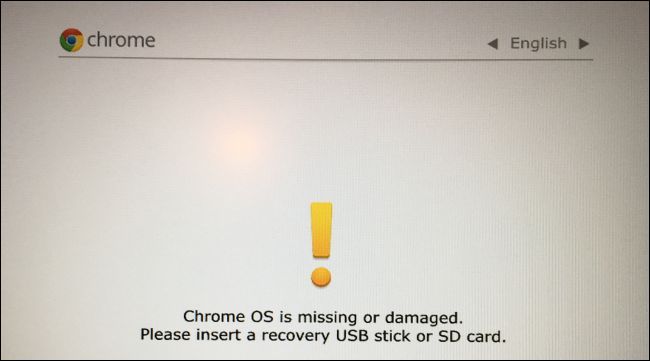
If you don't remember your model of Chromebook, you can turn on your Chromebook and you'll see the model number displayed at the bottom of the recovery screen.
Go through Chromebook Recovery Utility wizard. The application will wipe the attached USB drive and place Chrome OS recovery media on it. If your Chromebook has an SD card slot, you can also use this utility to place the recovery media on an SD card instead.
When the tool finishes creating recovery media, you can remove the USB drive from your computer and connect it to your Chromebook.
With your Chromebook still powered off, press and hold the Esc and Refresh keys (the Refresh key is where the F3 key would be on a normal keyboard). Press the Power button while holding these keys and then let go of the power button. Release the Esc and Refresh keys when you see a message appear on your screen.
Your Chromebook will boot into recovery mode and you'll see a message telling you to insert a recovery drive to continue. Connect the USB drive you created to your Chromebook.
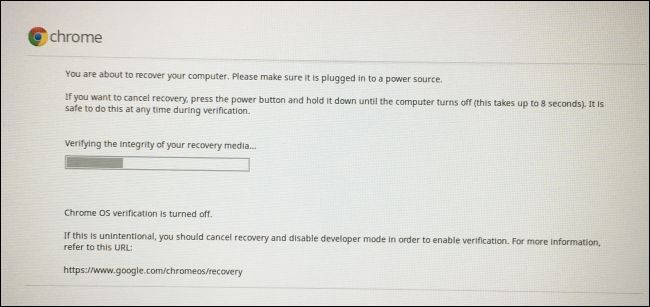
Your Chromebook will automatically detect the recovery media and use it to restore your device. Ensure the Chromebook is plugged in and allow it to automatically restore the operating system.
If your Chromebook doesn't automatically detect the connected drive and start the recovery process, there may be something wrong with your recovery media. You may also need to remove any other SD cards, USB drives, and USB devices before starting the recovery drive. Ensure you only have the one USB drive connected to avoid confusing the system.
When it's done, your Chromebook will ask you to remove the recovery media. Your Chromebook will then restart automatically.
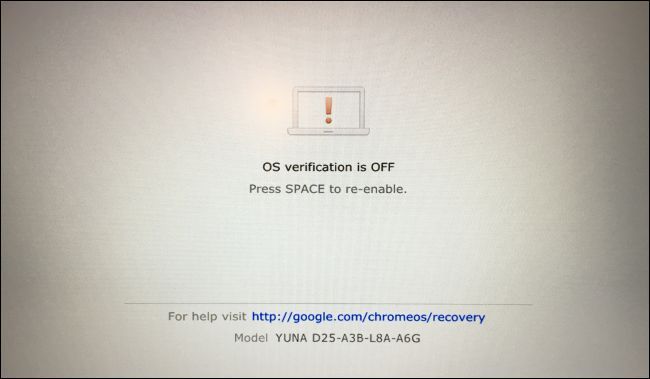
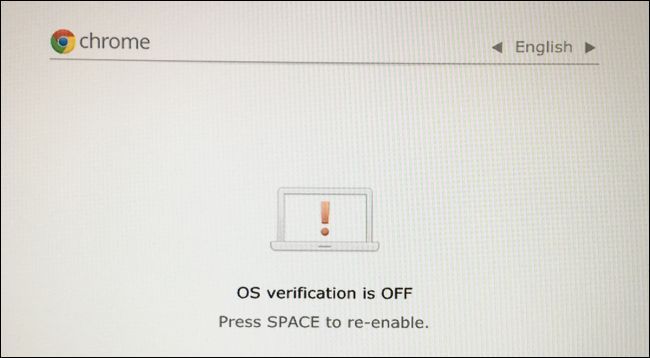
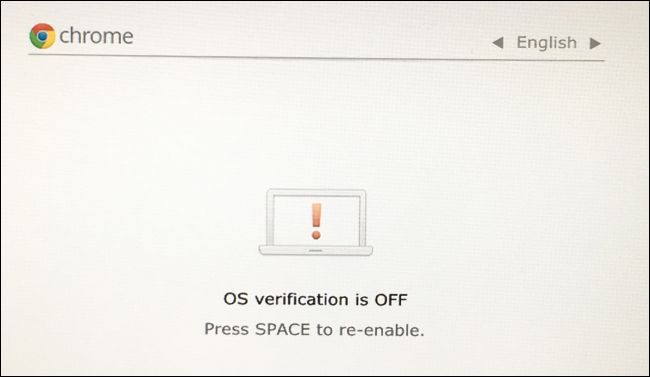
Press Ctrl+D to agree to continue in developer mode when you see the "OS verification is OFF" warning. You don't want to re-enable OS verification just yet!
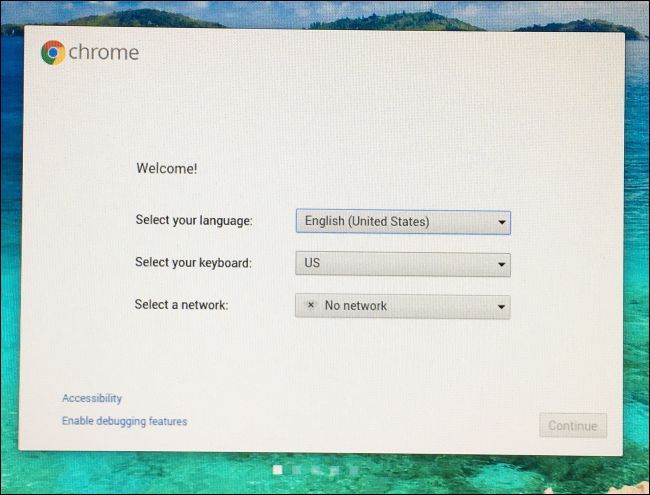
Boot into Chrome OS, where you'll see the Chrome OS installation wizard. Sign in and set up Chrome OS normally.
Step Three: Restore Your Firmware Boot Flags
As the script mentioned earlier, you'll need to reset the firmware boot flags to their default settings.
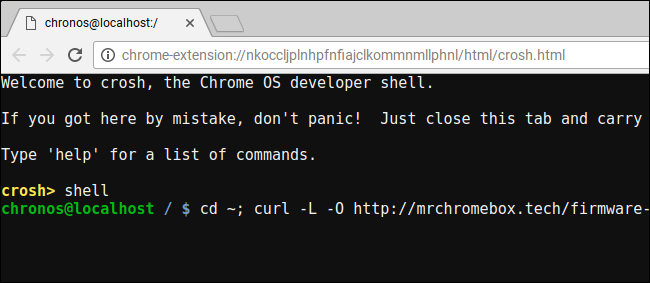
From within Chrome OS, press Ctrl+Alt+T to open a terminal window. Type shell and press Enter to access a full shell.
Paste the following command and press Enter to download and run the firmware script one last time:
cd ~; curl -L -O http://mrchromebox.tech/firmware-util.sh; sudo bash firmware-util.sh
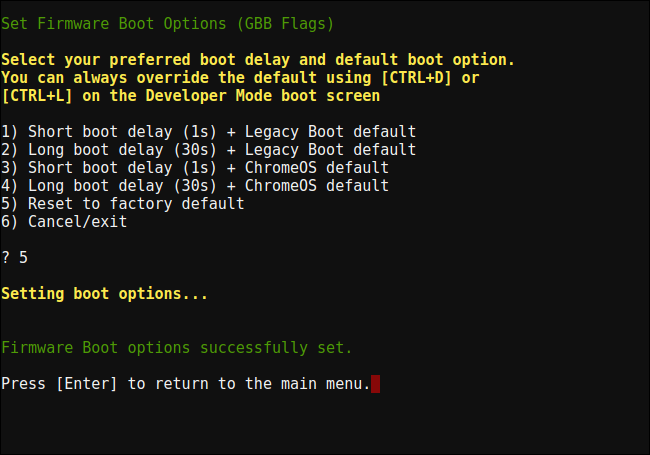
When the script interface appears, choose the "Set Boot Options (GBB Flags)" option by typing "4" and pressing Enter.
Tell the script you want to "Reset to factory default" by typing "5" and pressing Enter.
Step Four: Disable Developer Mode (Optional)
At this point, you may or may not want to disable Developer Mode.
Developer Mode is a special mode that allows you to modify your Chromebook's system software. It's another way of saying the "OS verification" feature is off, allowing you to tamper with the OS. While Developer Mode is enabled, you have to press Ctrl+D to boot your Chromebook every time it boots.
If you don't want to mess with the Chromebook's software, you'll want to disable Developer Mode. If you plan on installing Linux on your Chromebook using something like Crouton, you'll want to leave Developer Mode enabled.
If you do want to disable Developer Mode, restart your Chromebook and press the Space bar when the "OS verification if OFF" screen appears.
(If you don't want to disable Developer Mode, just keep pressing Ctrl+D each time your Chromebook boots.)
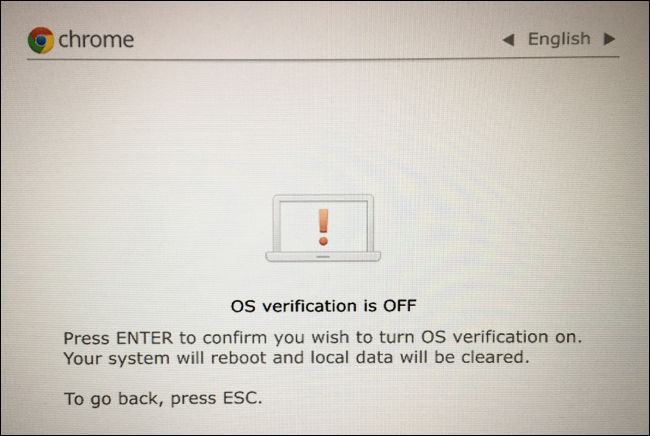
Press the "Enter" key to confirm you want to disable developer mode when your Chromebook asks.
Your Chromebook will wipe its internal drives and re-enable OS verification, which prevents you (or malware) from modifying the system partition and operating system files. You also won't have to press Ctrl+D every time you boot.
You'll have to sign back into Chrome OS after you do this, as disabling Developer Mode wipes your internal storage.
Step Five: Reinstall the BIOS Write Protect Screw (Optional)
You may want to re-enable the BIOS write protection, too. This doesn't require that you disable developer mode. In fact, you can flash anything you want to your BIOS and then reinstall the screw to protect your modified BIOS from changes.
If you've flashed the original BIOS, you can reinstall the screw to protect the original BIOS from modification. Your Chromebook will be back to the same state it was in when you bought it, running the original BIOS and protecting it from modification.
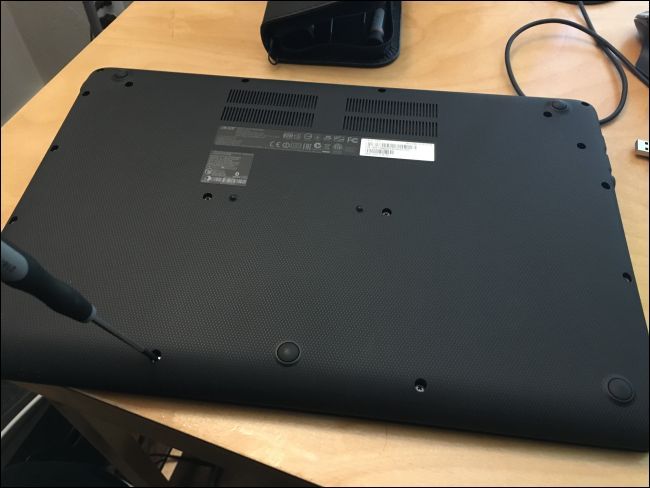
Just do the same thing you did when you removed the screw. First, shut down the Chromebook---don't just put it to sleep, but shut it down completely. Turn the Chromebook over and unscrew the bottom.
Locate the screw hole you unscrewed the BIOS write protect screw from previously. Take the exact same screw you unscrewed earlier and screw it back into the hole.
Once it's secure, reattach the bottom to your Chromebook and boot back up. The BIOS will be write-protected and you'll be using a stock Chrome OS operating system. Your Chromebook will be in the same state it was in when you purchased it.

