If you don't want to turn on the A/C in your house, but want to at least keep the air flowing for a bit to reduce any stuffiness, here's how to use the Nest Thermostat to manually run the fan from your HVAC system.
Most thermostats have a setting where you can run the HVAC fan only, but the customizations are rather limited, and you likely can only turn it on and off. There's also usually an "auto" mode that turns it on whenever the A/C or heat is turned on. However, the Nest Thermostat comes with a lot more control when it comes to the system fan: you can manually turn it on from your smartphone, and even specify how long you want it on for.
From the Nest App
Open up the Nest app on your phone and select your Nest Thermostat on the main screen.

At the bottom, tap on "Fan".

From here, you can get quick access to the fan timer and set it for a specific amount of time to be on. There are different intervals to choose from and you can have it on for up to 12 hours straight.

If you want more finer control of the system fan, tap on the settings gear icon in the top-right corner of the screen.
Tap on "Fan".

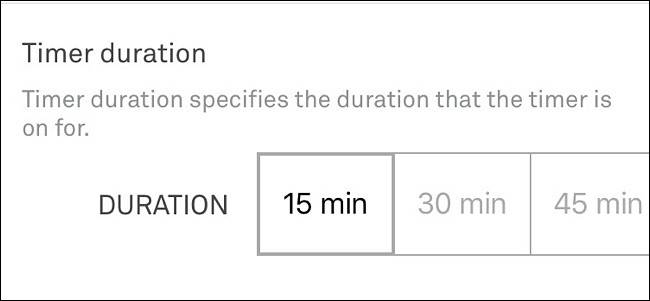
You'll have two options to choose from: "Every day" and "Timer duration".

First, you can tap on "Every day", which will allow you to set a schedule for the system fan. You can set a time limit and a time window when the fan will turn on and off. This will happen every day.

For "Timer duration", it's actually the same thing as the shortcut on the main screen, where you can turn on the fan and have it automatically turn off after a specified amount of time.

On the Nest Thermostat
You can do the same thing on the Nest Thermostat itself if you don't want to use your phone. Start by pushing on the unit to bring up the main menu.

Use the silver scroll wheel and navigate to "Fan". Push on the unit to select it.

You'll have three options to choose from: "Automatically" (which is what it's set to by default), "Every Day", and "Start Now".

Selecting "Every Day" will do the same thing as the "Every day" setting in the app, where you can choose how long the fan will run, as well as select a time frame of when that will happen. When you're done with that, select "Done".

From there, your Nest Thermostat will show what your settings are for the fan on the main menu.

With "Start Now", it's the same as "Timer duration" in the Nest app, so this allows you to manually turn the system fan on and have it automatically turn off after a specified amount of time that you've set for it. Select "Done" when you set a time and the fan will turn on.

Whether you set all of this up from within the Nest app or on the Nest Thermostat unit itself, the changes will appear on both, so you can set it up on the unit and change it within the app, and vice versa.