Quick Links
Key Takeaways
Download the server application from Plex's website, install it, then follow the setup process to add media to your library. Next, download Plex clients for your TV, mobile device, or use DLNA/UPnP streaming to stream over your local network.
Plex Media Server is a user-friendly way to store and stream your movies, shows, and other media in from one place, whether you're at home or on-the-go. If you're looking for a no-headache way to watch TV and movies anywhere, this is it.
What Is Plex Media Server?
Here's a common situation that all too many people find themselves in. You have media files--music, movies, TV shows, and even photos--but you don't have an easy way to access them on your plentiful and varied devices.
Do you copy your video files to your laptop? What about your phone--do you convert the files so they're smaller and compatible? Do you fling shows to your TV via your desktop and Chromecast? Do you upload all of your photos to your iCloud account to send them to your TV via Apple TV? What about your music? What if you're away from home on a business trip, and you want to stream your TV shows to your iPad?
Even for serious geeks with a lot of experience managing their media, it's a huge pain to get all of your devices talking and accessing the same collection. It doesn't have to be that way, though. Plex is a centralized media server system that eliminates virtually every problem you run into while managing a large personal media collection.
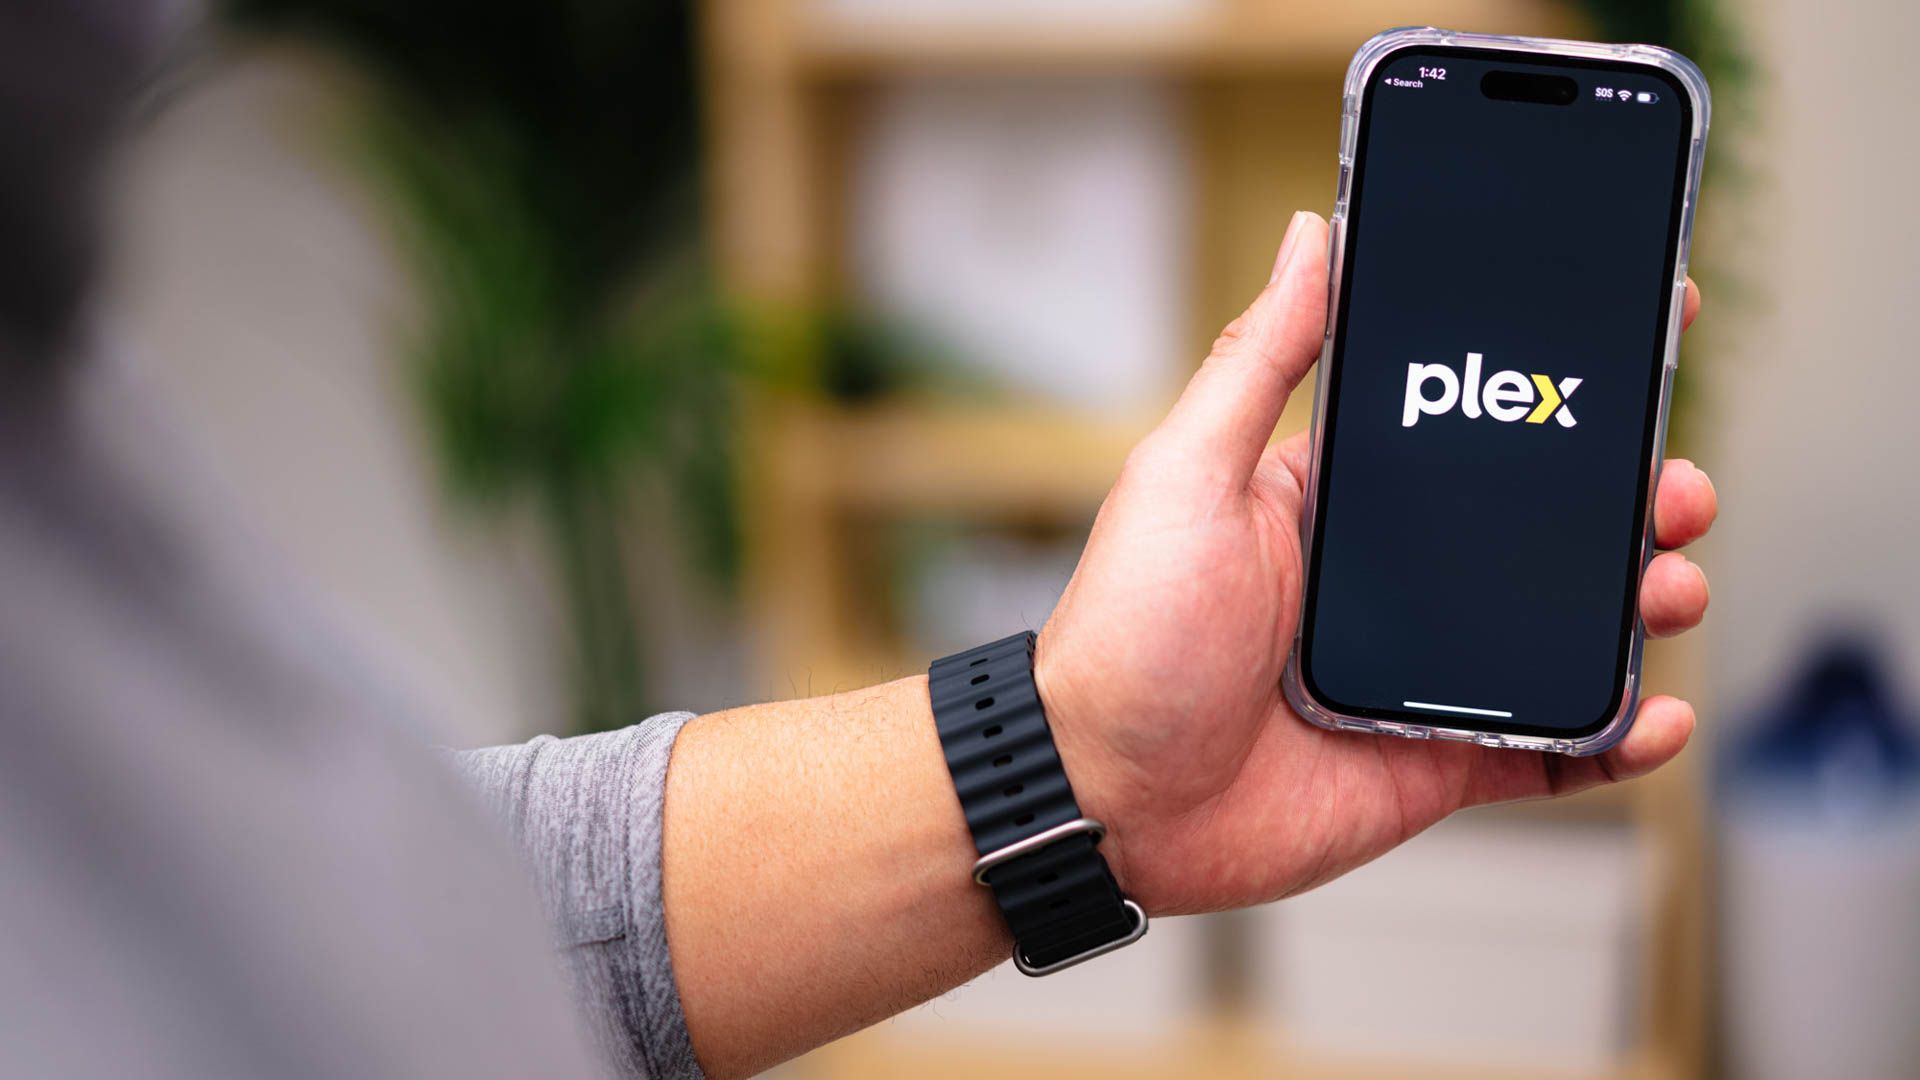
The Plex model is simple: park all your media on a single computer with the Plex server software installed and access it using the Plex app on all your other devices. You can install it on Windows, Linux, or Mac computers as well as Android and iOS, video game consoles like the Xbox, and your Apple TV. Most smart TVs now come with Plex built-in or available as a download from their respective app stores.
The Plex model uses a single server which is accessed using clients. You don't have to worry about copying files to your various devices and dealing with issues like playback quality, video resolution, and other details. Plex transcodes all of your media content on the fly so that it plays properly on whatever device you're using.
Want to watch a TV show in the backyard on your iPhone? No problem. Want to watch it on your laptop at your in-laws' house? Also no problem. Want to hook your new smart TV right into your media collection without any additional hardware? The best TVs can do that. Running Plex is like having your own private streaming service where you curate the library.
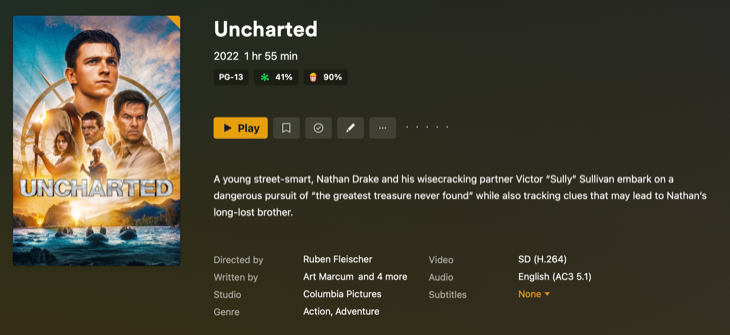
Not only do you get on-demand streaming to all your devices you also get metadata and art to go along with it. Plex will scan for changes to your media library and download descriptions, cover images, and even ratings.
Let's take a closer look at what you need to get started and then jump right into preparing your media collection for Plex, installing Plex, and--everyone's favorite part--accessing your Plex media collection.
What You'll Need
Plex is simple to manage and easy to use once you have set it up. Before you begin, you'll need to decide which device to use as a server and whether there are Plex apps available for your chosen clients (fortunately, Plex also functions as a DLNA server for unsupported devices).
Home Is Where The Server Is
First, you need to nominate a device as a server to house all of your files and run Plex Media Server. You can install Plex on Windows, Linux, macOS, and even on dedicated server software like FreeNAS and on NAS hardware like the Synology system (you can see all their supported platforms for the Media Server app here).
Regardless of your chosen platform, ensure it's a computer that's always turned on. There's no point in having a comprehensive streaming solution for all your personal media needs if the content is offline.
In addition to always being on, you'll want the server computer to have a decent amount of processing power to handle the aforementioned transcoding. The more users you expect to watch at once, the better hardware you want. Plex Media Server still works on older hardware but it will automatically disable transcoding if the hardware is insufficient, and playback will suffer.
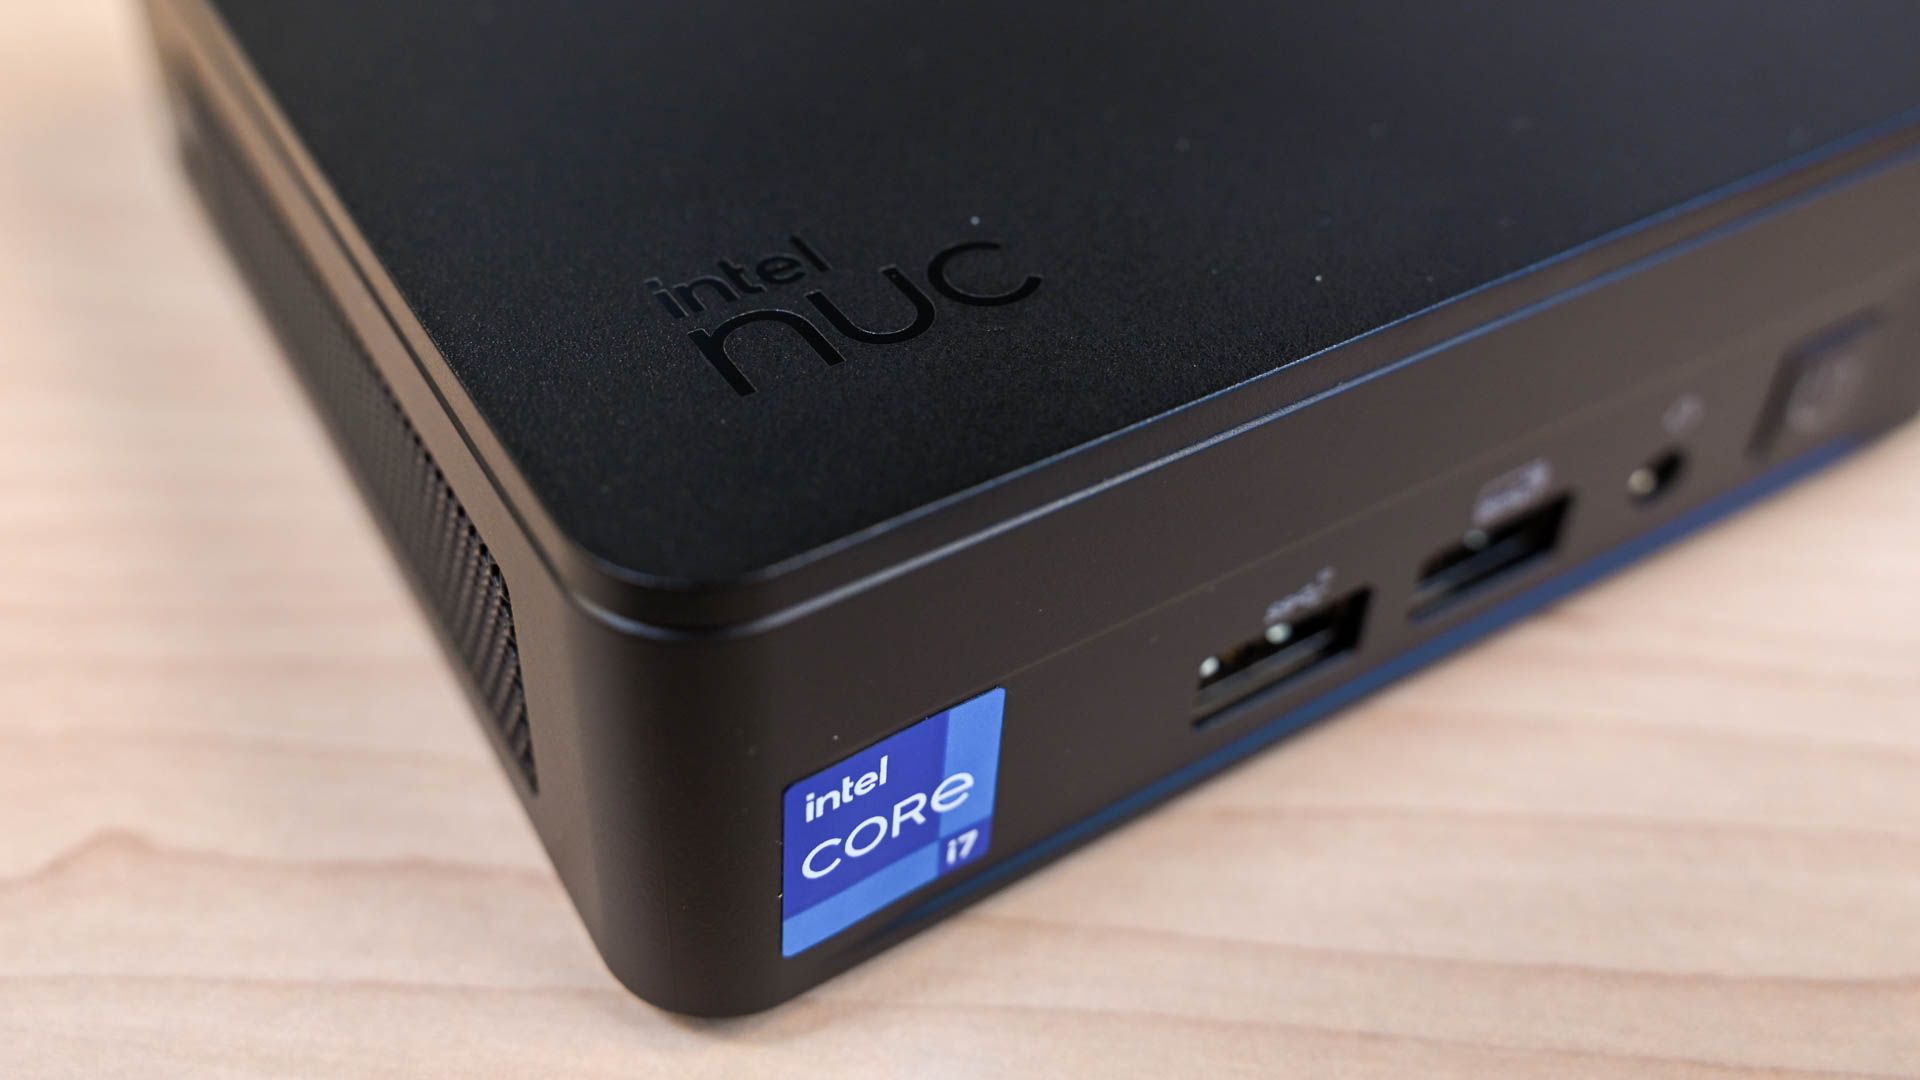
So, you'll want as beefy of a CPU as you can spare. Plex recommends at least an Intel Core i3 processor (or equivalent) or better with at least 2GB of RAM. A small and efficient mini PC might do the trick if you're buying or building something yourself. You can read over Plex's ardware recommendations here. If you want to make full use of hardware transcoding on compatible hardware, you'll also need to invest in the Plex Pass.
Lastly, you'll want enough hard drive space to store all the movies, TV shows, music, and photos you have.
If you already have a computer lying around that you aren't using, give it a shot. You may find that file playback is unsatisfactory, or you might be pleasantly surprised. Old hardware works fine for a lot of sub-4K content as long as the hardware hasn't been dropped by Plex. You can check out full list of server software on the Plex website.
A Client For Every Device
The server is just one-half of the Plex system. The other half is the "client" app that you use to consume content. While you can play the media from the server's web-based control panel, it's like watching Netflix in your web browser. You'll get a better experience using a dedicated app on a TV, mobile device, and so on.
You can find a Plex app for almost every platform you can imagine: Android, iOS, Apple TV, Roku, Amazon Fire TV, LG webOS, Samsung Tizen, and more. Use the Plex App Downloads page to select your device from the drop-down box.
One thing that has been a source of confusion regarding Plex is whether or not it is free. A fair amount of this confusion hinges on the fact that the mobile apps have an "activation fee" to remove playback limits.
Plex Media Server has always been free. Most of the client apps have always been free. The Plex mobile apps for Android and iOS (including iPadOS) require a one-time activation fee of $4.99 to remove the one-minute streaming limit that exists for video and music content.
If you only need a single app, you may wish to just activate that single app. The other option is to buy a Plex Pass, which is like a subscription service that removes the limitations for as long as you are subscribed. You also get benefits like syncing to your mobile devices for offline access and cloud-based file storage. Plex Pass has a whole range of benefits but whether it's worth it largely depends on your use.
You can read more about which apps are paid, which are free, and the difference between a free and premium Plex membership on the Plex website.
Now that we've looked at the general guidelines for selecting a device for your Plex server, and how to get the client software, let's look at the rather important step of organizing your media.
Step One: Consolidate and Organize Your Media
Plex works best if your media content is well-organized and in the same place. To that end, you should have all your media on the same device you're installing the Plex server software--whether it's an old desktop computer, a dedicated storage server in your basement, or a NAS device, all your media should be on it.
Organizing your media into a clean folder structure keeps major media types separated and easy for both you and Plex to parse through. At the very least you should keep categories like movies and TV shows separate since you'll need to add these libraries separately.
If you've already invested time organizing your media, you probably already have a decent folder structure in place.
Here's a simple example of a best-practice directory structure for Plex:
/Media/

             /Movies/

             /MovieName (Year)/

             MovieName (Year).ext

             /Music/

             /ArtistName/AlbumName/

             Track# - TrackName.ext

             /TV Shows/

             /ShowName/

             /Season 01/

             ShowName - s01e01.ext

             /Photos/

             /Album Name/

             Image.ext
In the above directory structure, you see that the major media categories are separated into distinct sub-folders (like Movies and TV Shows) and that each media type has a pretty straightforward naming convention. Movies go in folders named after the movie with the year of release in parentheses to reduce confusion.
Music is organized by artist and album name format. TV shows are organized by name, season, and episodes are tagged using the "sXXeXX" format. Photos are even easier--Plex just reads the album name of the folder and loads up the images inside.
While the above examples cover pretty much 99% of the territory you may find you need a little extra guidance when naming DVD .ISO files or other less common formats. If you need additional help cleaning up your media check out the Plex "Your Media" support guide.
A final note on organizing your media for Plex: if you've used or are currently using another media center software (like XBMC), don't worry about your metadata. You can safely run XBMC and Plex completely in parallel with no risk to your metadata, as neither application uses the same metadata files.
Step Two: Install Plex Media Server
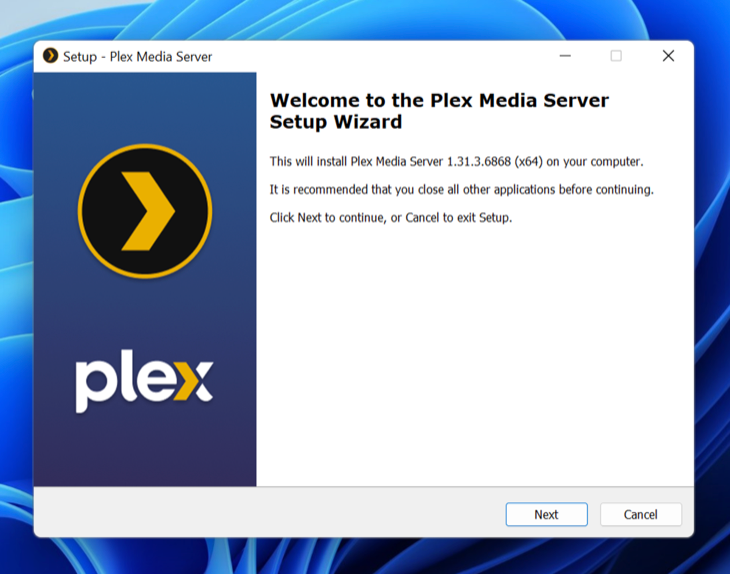
The foundation of the setup, beautifully organized media aside, is the Plex Media Server application. You'll need to download the Plex server application and install it as you would any other app on your chosen operating system.
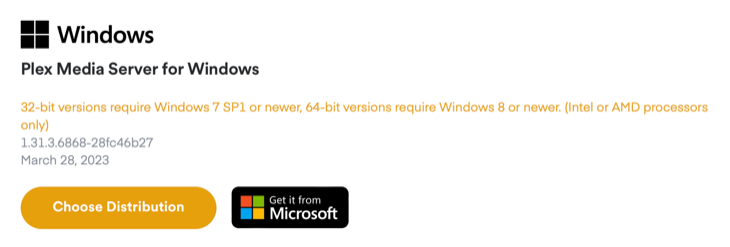
Head over to the Plex Media Server downloads page and grab a copy of the server for your platform. Run the installer and relax for a minute. When the installer is complete, run Plex (if it hasn't already opened automatically).
If it does not, open your web browser and navigate to http://127.0.0.1:32400/web/index.html#!/setup on that computer. (Alternatively, you can access it from another computer on your network by replacing 127.0.0.1 address with the local network IP address of your computer or NAS device).
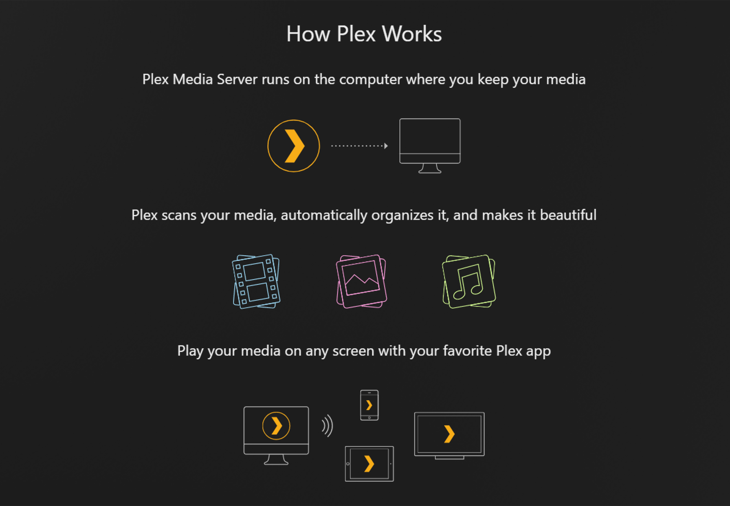
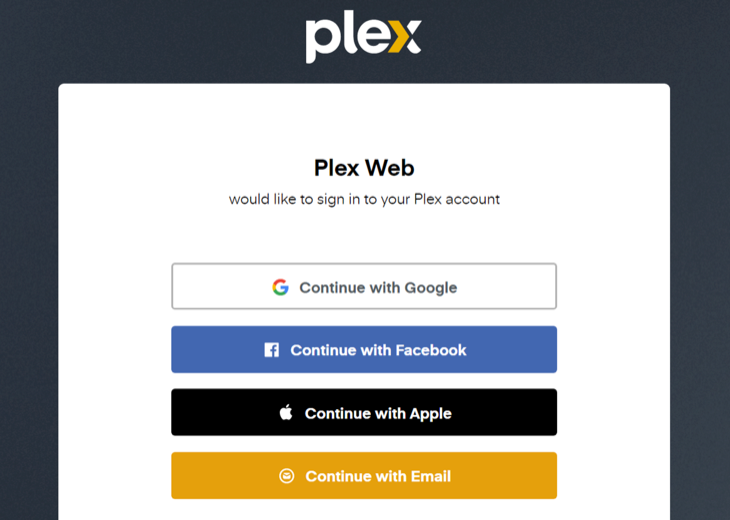
You'll be prompted to sign up for or sign in to an existing Plex account. Sign up if you don't already have one, or sign in if you do. You'll see a brief overview of "How Plex Works" explaining that media stored on your server is organized and made available to other devices. Click "Got It!" to move on.
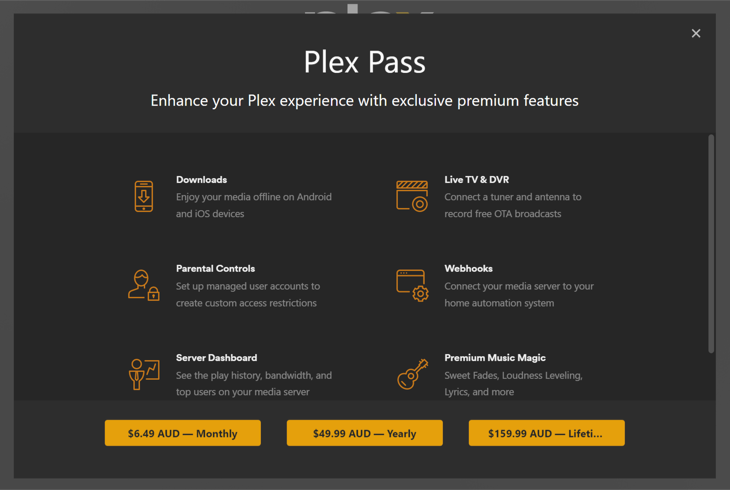
Plex will now give you a rundown of the Plex Pass premium feature and offer you some sign-up options. You can dismiss these for now while we get our server set up.
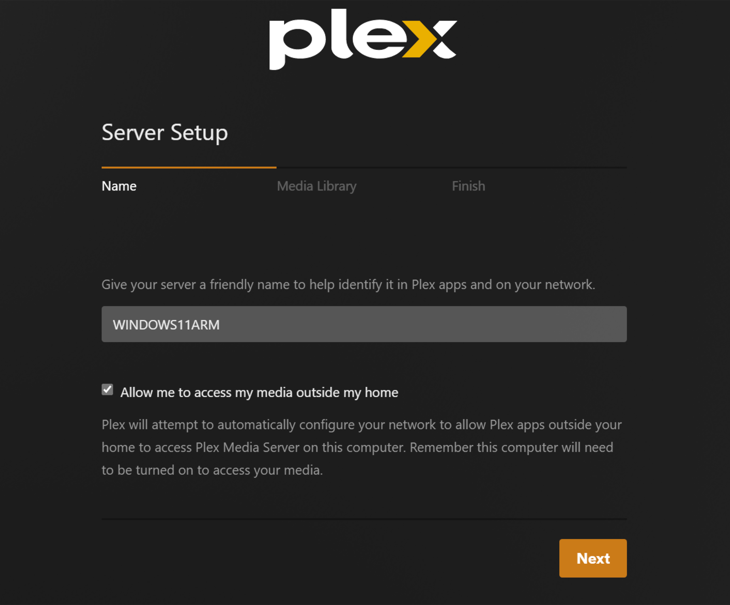
Now it's time to give your server a name. By default, Plex will use the current name of your computer. If you leave the "Allow me to access media outside of my home" Plex will attempt to configure your network accordingly. Move on by clicking the "Next" button.
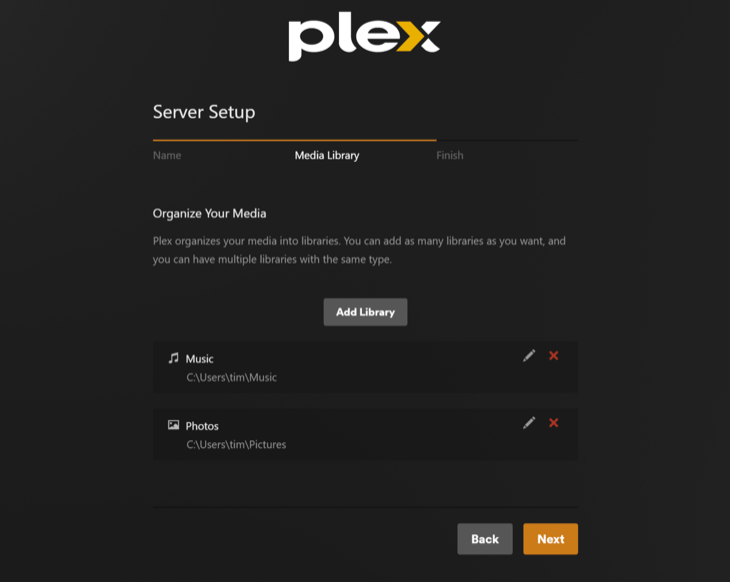
Now it's time to organize your media. Plex may have found some libraries automatically, but you can add new ones using the "Add Library" button.
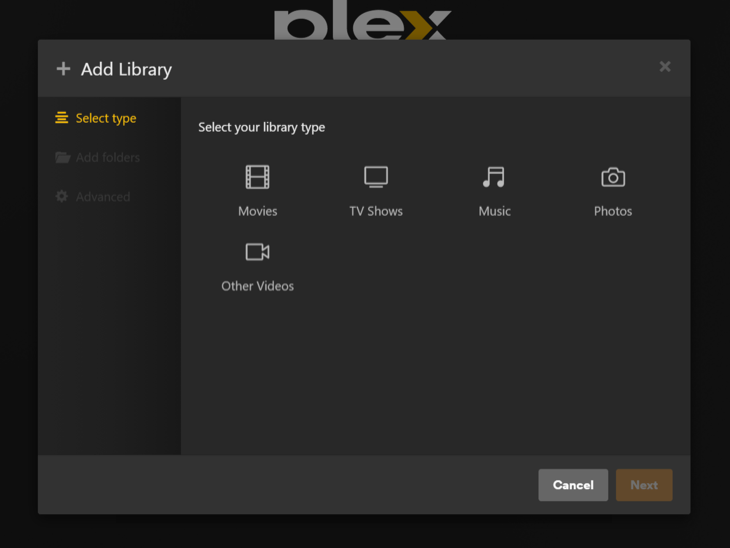
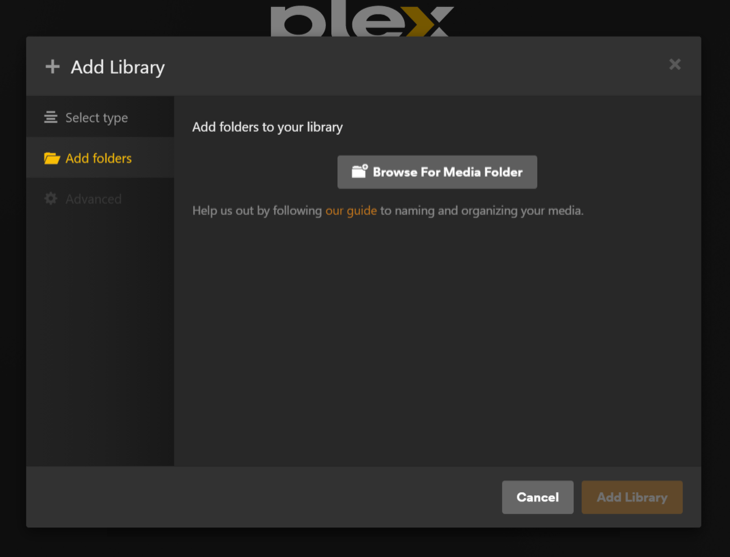
When you click "Add Library" you'll need to nominate a media type (like Movies or TV), then click on the "Add Folders" button.
Now use the "Browse For Media Folder" button to add any relevant folders you want included in that collection.
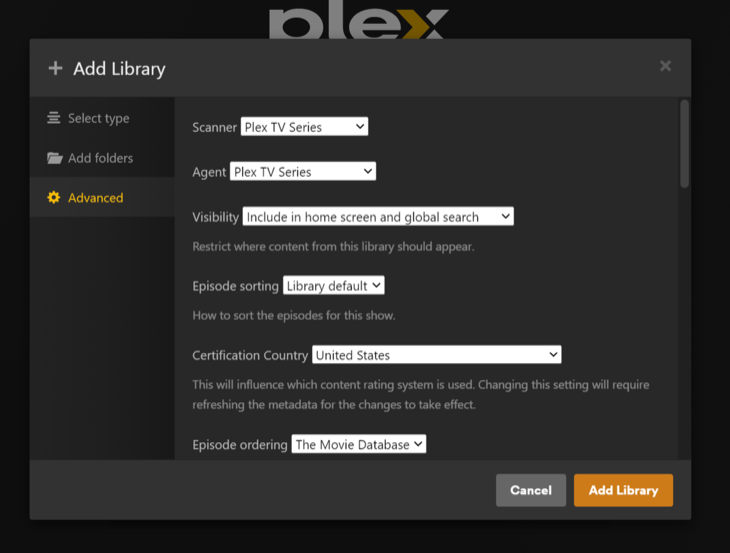
Use the "Advanced" options to further customize your collection by nominating media scanners, episode sorting, and so on. When you're ready, click "Add Library" to finalize.
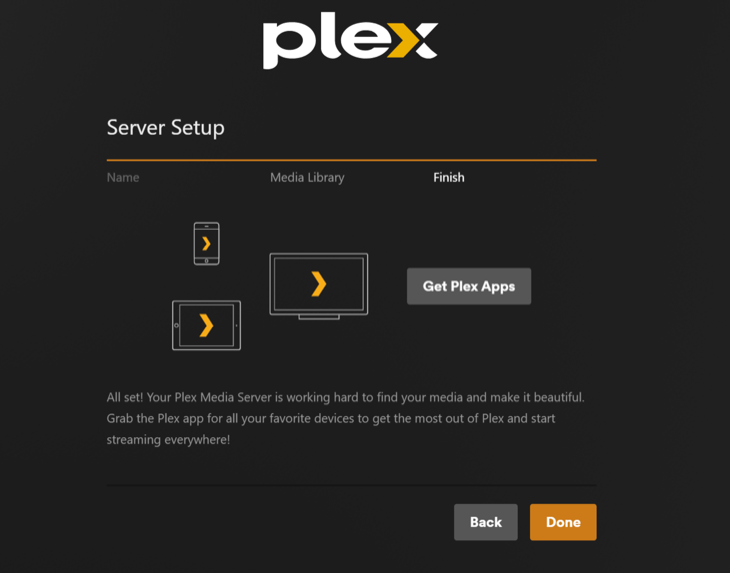
Once you've set up your media, hit "Next" where you'll be prompted to grab the relevant Plex apps for your client devices. Finish up using the "Done" button.
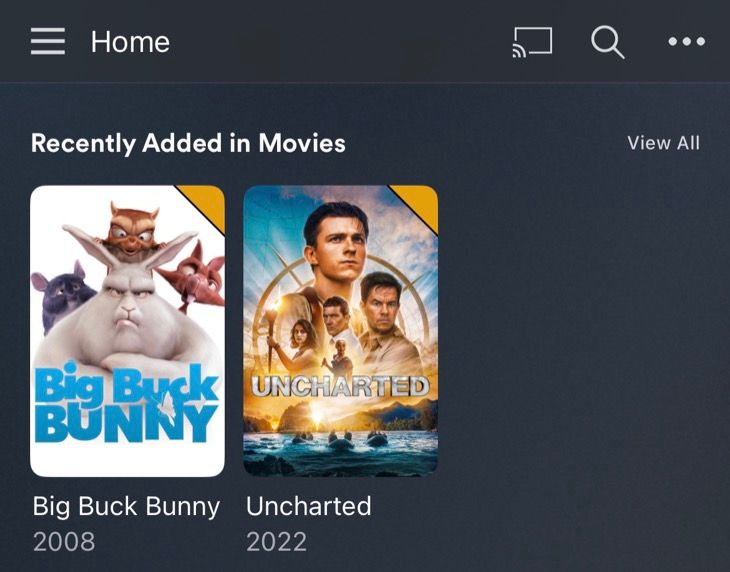
You'll now be dumped on the Home screen. Plex can take a while to scan your media and download relevant metadata, so hold tight.
Step Three: Access Your Plex Media Server from Elsewhere
Once you have Plex Media Server up and running, your entire library is stored on one central server. You can then access it from any computer, smartphone, or other device and get the exact same experience. You'll see the same media, the same metadata, the same recently added list, and the same database that tracks what shows you've watched and which ones you need to catch up on.
Accessing Plex from a client device works largely the same way, regardless of what you're using. The screenshots below are from the iOS app, but the process doesn't change between devices.
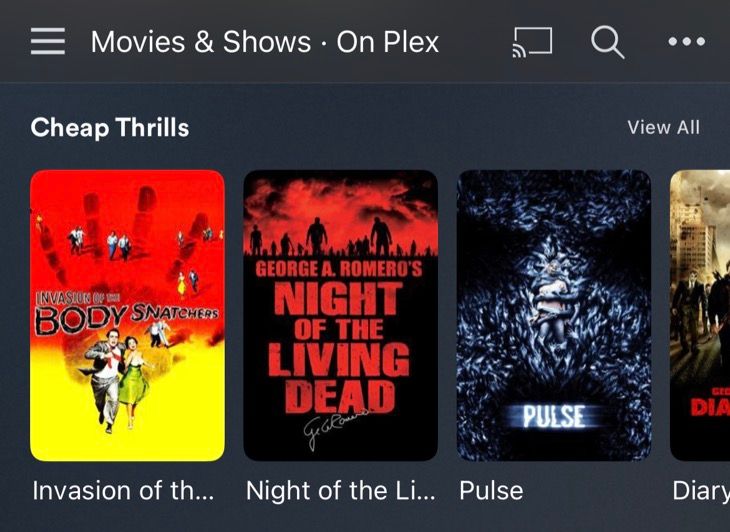
Once you've logged in, you will see your media collection. Centralization makes everything run so smoothly.
Tap the "Menu" button to switch between sources, see your Watchlist, watch Live TV via Plex's in-built channels, and access free on-demand streaming from sources like The Internet Archive.
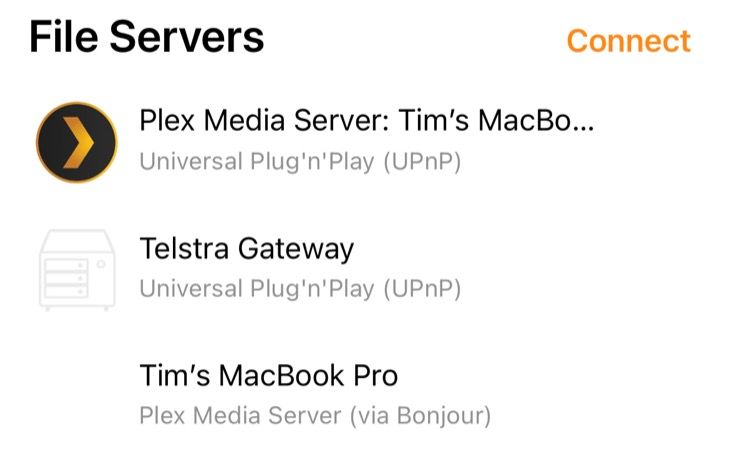
If there's no app available for your chosen device, make sure to turn on local DLNA/UPnP streaming on your media server. You can do this by clicking on the "spanner" Settings icon and then clicking on "DLNA" under the Settings heading.
From here, check "Enable the DLNA server" and hit the "Save Changes" button. You can now stream locally over your network to DLNA-certified devices like TVs, set-top boxes, and even VLC.
Consider Plex Alternatives Too
Plex is a powerful and convenient media streaming solution, but it's not the only one of its kind. Check out our top Plex alternatives to see whether you'd be better off using something else.
Jellyfin is a free open-source media streamer that you might want to consider that includes many premium Plex features (like hardware transcoding) free of charge.

