Quick Links
Minecraft is one of the best ways to introduce young and new people to coding. Command blocks are easy to learn and use, and Java programming is right around the corner with Minecraft mods and Bukkit plugins. It's also just a very fun place for experienced coders to tinker in.
What are Command Blocks and Why Should I Use Them?
Command blocks are a redstone component that execute console commands when powered. Console commands can be ran from the chat window by proceeding them with a forward slash, ' / '. Commands are used to modify the game world in ways that aren't possible by hand, and, when used correctly in command blocks, give Minecraft it's own sort of psuedo-programming language. Code consists of two things: logic and execution, and most programming languages require both to be written in text. Minecraft coding takes a different route; the logic and structure of the program is determined by where the blocks are placed and how they are wired up, meaning that you can fly over your world and see the different parts of your program laid out block-by-block.
Ok, so How Do I Start?
This guide makes use of the new command blocks in version 1.9. It will work in 1.8, but may require a bit more expertise.
Open up a new Minecraft world (Superflat works best), make sure you're in Creative mode, and press the "/" button. This is the command window, which is the same thing as the chat window, except it starts you off with a ' / ', and anything starting with the forward slash is a command. The first command you can run is
/give @p minecraft:command_block
Let's break this down. The command "/give" puts items into a players inventory and has two arguments: the player and the item to give. The "@p" is a target selector. The selector "@p" selects the nearest player. Alternatively, you could also use your Minecraft username, but if you run a command from the console you will always be the nearest player. The other target selectors are "@a" for all players, "@r" for a random player, and "@e" will target all entities. Entities include everything that isn't a block, like monsters, snowballs, animals, and arrows.
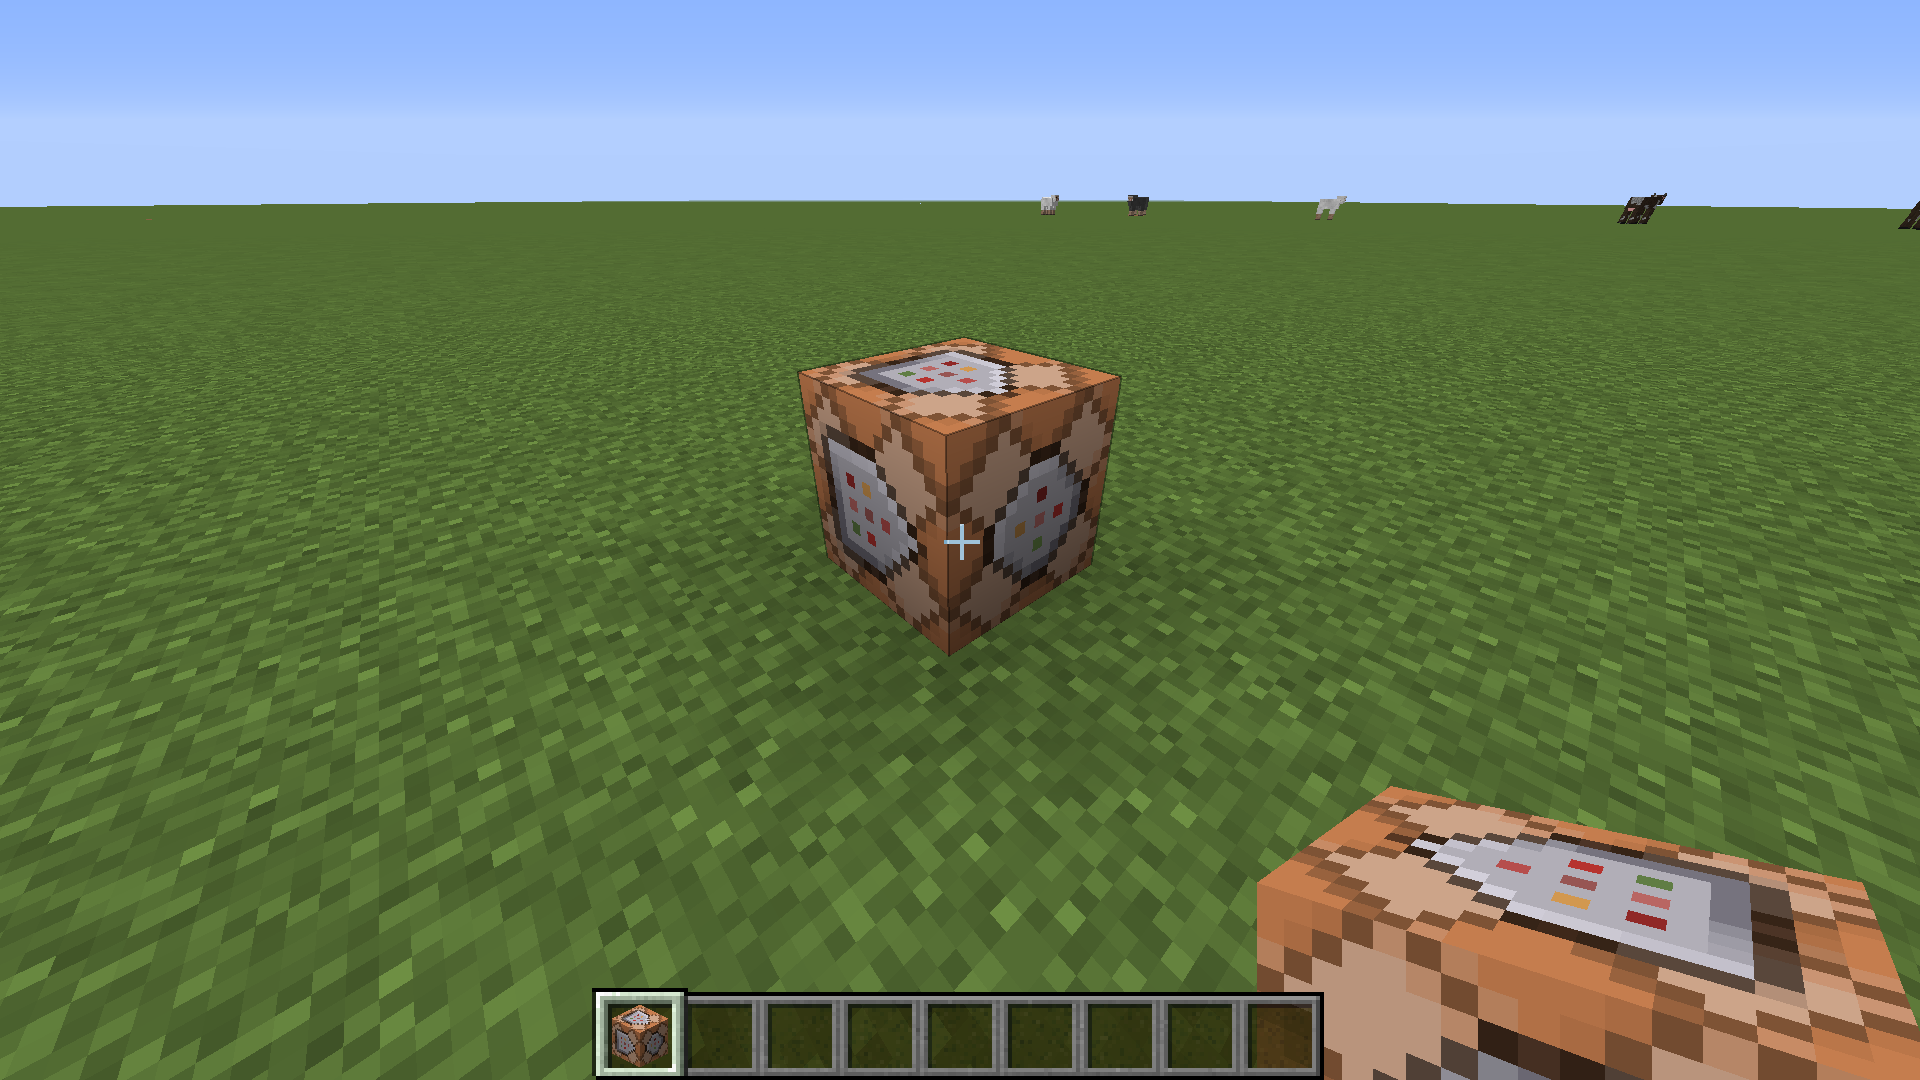
The command should execute successfully and give you a new block. Place it anywhere on the ground to get started.
You can see that the command block points in the direction you place it, a lot like hoppers or furnaces. This will be important later.
Right click the block (or use whatever key you use to access crafting tables and furnaces) and you will be greeted with the command block GUI.
It seems a little scary at first, but don't worry, all of those buttons do something. The button that says "Impulse" changes the type of command block. There are three different types of command blocks:
- Impulse, which run commands on the rising edge of redstone current. This means that when they are powered, they will run their command once and stop, even if they continue to be powered. This is the default setting and is the only one available in 1.8
- Repeat, which run commands every tick they are powered. A tick is like a frame, and multiple commands can be run in a single tick, up to 20 times a second.
- Chain, which only run if the command block that is pointing into it has executed its command. These will run in order, one after the other, in a single tick, hence the name 'Chain'.
The button that says "Unconditional" stops the command block from checking if the previous block in the chain has executed successfully. The other option, "Conditional", only runs if the previous block threw no errors.
The button that says "Needs Redstone" only runs the command if the command block is powered. The other option, "Always Active" stops the command block from checking if it is powered and just assumes it is. This option should not be used with Impulse command blocks as it makes them useless.
Let's make a chain, our first 'script'. Place down an chain command block or two facing into the first impulse command block, like this:
Make sure to set the chain blocks to "Always Active". Otherwise we would need to place down redstone blocks or current, which takes up unnecessary space. Place a button on the impulse command block at the start of the chain, and press it.
Nothing will happen. This is because we haven't filled them with commands yet! Right click the impulse block to edit it, and put in a basic command
say start
Notice how we don't need a forward slash in command blocks. You can use one if you want, but it's unnecessary. The "/say" command takes one argument, text, and says it from the point of view of whoever executes it. If you run it, it will display as "<username> message" just like regular chat. If it's ran from a command block, it will be "[@] message". Alternatively, there is "/tell", which takes a player argument, and "/tellraw" which is like "/tell" except it takes raw JSON instead of text.
You can fill the chain command blocks to write more things to chat. They will be executed in order, without delay, in the same tick. If you want to run them with a delay, you will need to set up them up with redstone repeaters. Along with "/say", there are other basic commands that do more things, like "/give", which gives items, "/effect", which applies potion effects, "/setblock" and "/fill" which modify your world, and many others. A large database of commands can be found on the Minecraft Wiki, along with other helpful content.
Target Selectors
The "@p" target selectors are actually much more powerful than they seem at first glance. For example, if we wanted to target all entities, we would use "@e", but if we wanted to target only Zombies, we would use
@e[type=Zombie]
Notice the brackets after "@e". Inside those brackets are target selector arguments, a full list of which can be found on the Minecraft Wiki. The "type" argument only selects entities of a certain type, this one being "Zombie". If we wanted to target all Zombies within 10 blocks of the command block, we would use
@e[type=Zombie,r=10]
With the "r" being a radius argument. You can also target by location, name, team, and score, among others.
Chaining Commands
Let's introduce another command that isn't like the others. The command is "/execute". This command takes another command as input and executes it from the point of view of another entity. The structure of "/execute" is
/execute @target X Y Z /command
X, Y, and Z are coordinates to run the command from. This doesn't matter with most commands, but matters a lot if you use relative positioning. A relative position starts with "~" and is followed by a positive or negative number indicating how many blocks from the origin, which is denoted by "~ ~ ~". So, for example, if we wanted to run "/say" as if a Villager was talking, we can set up the command like this:
/execute @e[type=Villager] ~ ~ ~ /say Hey
This command will cause a message to go out to everyone, from every villager. This isn't optimal if we have more than one person or more than one villager, so let's reformat that command:
/execute @a ~ ~ ~ /execute @e[type=Villager,c=1] ~ ~ ~ /tell @p Hey
This is much more complex than the first, and involves chaining two "/execute" commands together. The first "/execute" of the command runs on every player, then the second checks for exactly one Villager nearby, and then has that Villager tell the closest player "Hey". This makes sure that only one Villager talks per person.
Learning the Syntax
There are certainly a lot of commands in Minecraft that each have their own syntax. The help menus for each command will usually tell you quickly what arguments the command needs, and the Minecraft Wiki has a detailed list of what each own does. It's not so much about knowing exactly what every command does, but knowing how to use them together. Minecraft is a game, after all, so playing around with the commands is part of the learning process.


