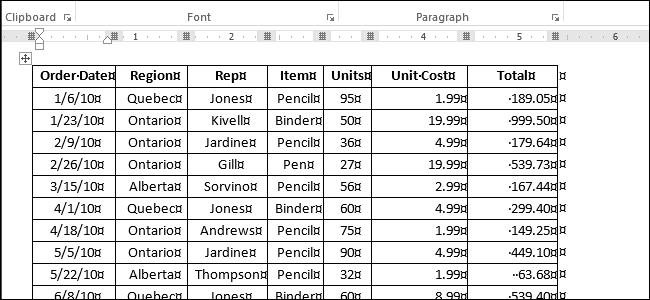
When you create a table in Word, you can have the table automatically resized to fit the contents. However, sometimes you may want to freeze the size of the cells in the rows and columns so they will not change. This is easy to accomplish.
Open the Word file containing the table for which you want to freeze the size of the cells and find the table in the document. If you want to freeze the size of all the cells in the table, which is what we did in our example, move your mouse over the crosshair box in the upper-left corner of the table until it becomes a cursor with a crosshair icon.

Click on the crosshair box to select the entire table, if desired. Right-click on the crosshair box and select “Table Properties” from the popup menu.
NOTE: If you don’t want to freeze all the cells in the table, select the rows, columns, or cells you want to freeze, right-click on the the selected cells, and select “Table Properties” from the popup menu.

On the “Table Properties” dialog box, click the “Row” tab.

Enter the size you want for the height of the row(s) in the “Specify height” edit box and then select “Exactly” from the “Row height is” drop-down list.

Click on the “Table” tab.

Click the “Options” button.

On the “Table Options” dialog box, in the “Options” section, click the “Automatically resize to fit contents” check box so there is NO check mark in the box. Click “OK”.

Click “OK” on the “Table Properties” dialog box to close it.

If you don’t turn off the “Automatically resize to fit contents” option, Word will adjust the column width of your tables to display your data in the best way possible.