Opening a Word document as read-only helps prevent unintentional changes you make to the document from being saved. Read-Only mode does not allow you to make any changes to the document, preventing you from inadvertently saving changes. We will show you how to open any Word document as read-only.
The “Recent” list displays on the backstage screen when you first open Word. Click the “Open Other Documents” link at the bottom of the “Recent” list.
NOTE: If you already have a new or existing document open and want to open another document as read-only, click the “File” tab and then click “Open” on the backstage screen. A quick way to access the “Open” backstage screen is to press “Ctrl + O”.

On the “Open” screen, click “Computer” to access files on your computer, or click “OneDrive” to open a file from your OneDrive account as read-only.

Below the “Recent Folders” list, on the right side of the “Open” screen, click the “Browse” button.

Navigate to the folder containing the file you want to open as read-only. Instead of clicking the main part of the “Open” button, click the down arrow on the right side of the “Open” button. Select “Read-Only” from the drop-down menu.

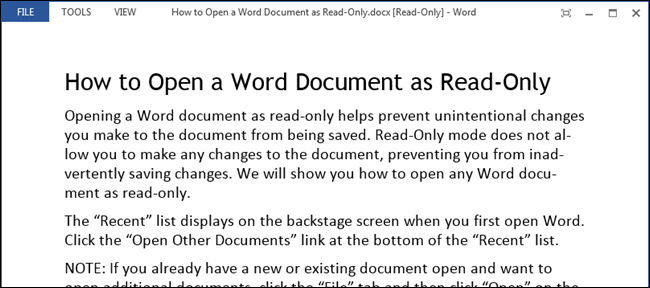
Your document is opened as read-only, as shown in the image at the beginning of this article. Read-Only mode is similar to the Read Mode in Word.