Adding a header of footer in Word allows you to add information that’s displayed on every page. There may be various reasons for adding the filename to the header or footer, and we’ll show you how to do this.
NOTE: We used Word 2013 to illustrate this feature and, for this example, we added the filename to the header.
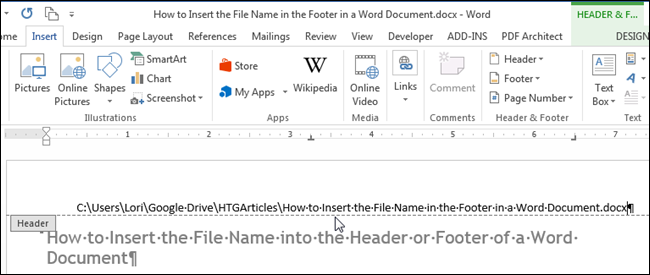
Click the “Insert” tab and insert an empty header or footer as described in our article about adding a header or footer to your Word document. For this example, we created an empty header for the filename.

Once you’ve added an empty header (or footer), click the “Insert” tab.

In the “Text” section of the “Insert” tab, click the “Quick Parts” button.
NOTE: The text on the buttons may not display, depending on the size of the Word window. If you don’t see text next to the button, look for the icon pointed out in the image below.

Select “Field” from the drop-down menu.

The “Field” dialog box displays. In the “Field names” list, scroll down and select “FileName” in the list. If you want to include the full path to the file in the filename, select the “Add path to filename” check box in the “Field options” section so there is a check mark in the box. Click “OK” to accept your selections and close the “Field” dialog box.

The filename is inserted into the header (or footer).

To return to the main part of your document, double-click on the text area of your document or click the “Close Header and Footer” button in the “Close” section of the header and footer “Design” tab.
NOTE: If you use the “Close Header and Footer” button, you are returned to where you left off. However, if you double-click on the body text of your document to return to editing it, you are returned to the beginning of your document.