A new feature was introduced in Word 2013 that allows you to collapse parts of your document and expand them when you want to view that content again. This feature makes it easier to find and view only what you want.
NOTE: We used Word 2013 to illustrate this feature.
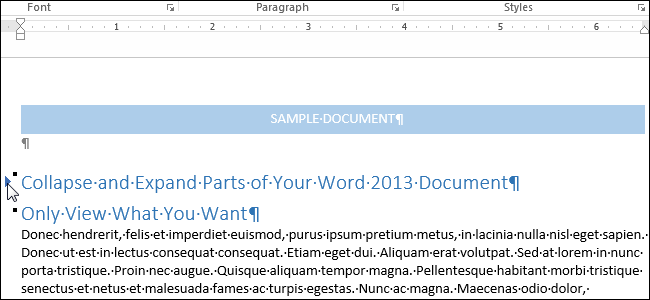
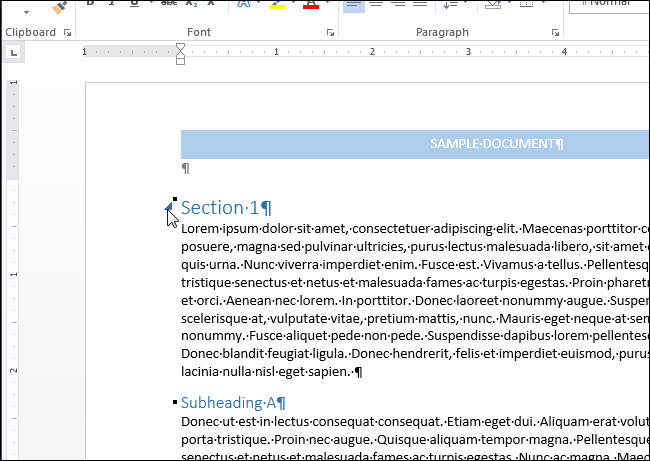
To do this, you must use the Heading styles in Word to format the headings in your document. When you move the mouse over the space to the left of a heading, a right arrow displays. When you click on the arrow, the text below the heading is hidden.
The content below the heading collapses and only the heading displays. To view the content again, simply click the arrow to the left of the heading again.
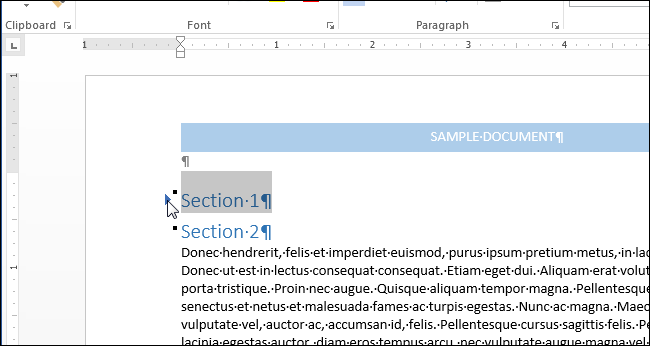
NOTE: When you collapse a heading, only the content up to the next heading of equal or lesser value is collapsed. Notice in the image below that all the content below “Section 1” is collapsed up to “Section 2” because “Section 2” is the at same heading level (Heading 1) as “Section 1.”
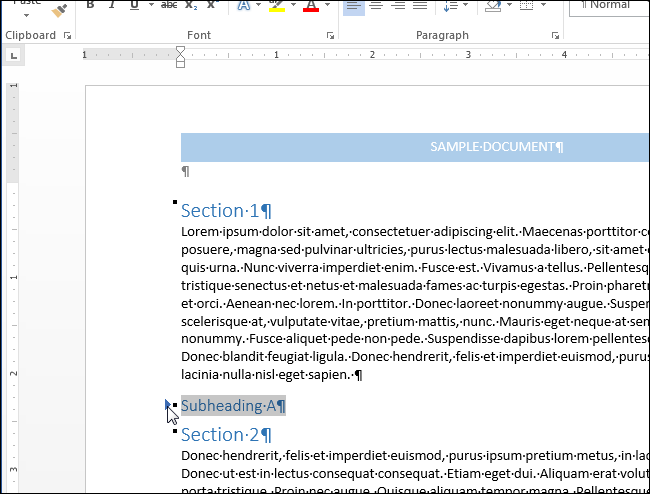
When we collapsed “Subheading A,” which is a Heading 2, it collapses the content up to “Section 2” because that heading level is greater than “Subheading A.” However, when we collapsed “Section 1,” “Subheading A” and the content below it was collapsed as well because it is a lesser heading level than “Section 1.”
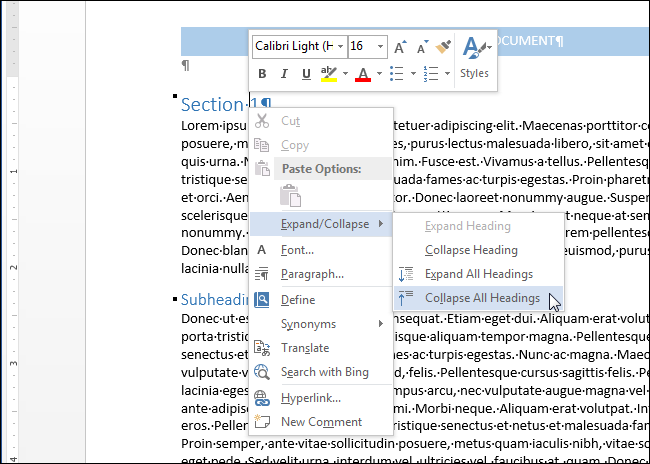
Word provides a quick way to collapse or expand all headings at once. To do this, right-click on any heading and move your mouse over “Expand/Collapse” on the popup menu. Then, select “Collapse All Headings” from the submenu to collapse all the headings in your document, or “Expand All Headings” to expand all the headings again.
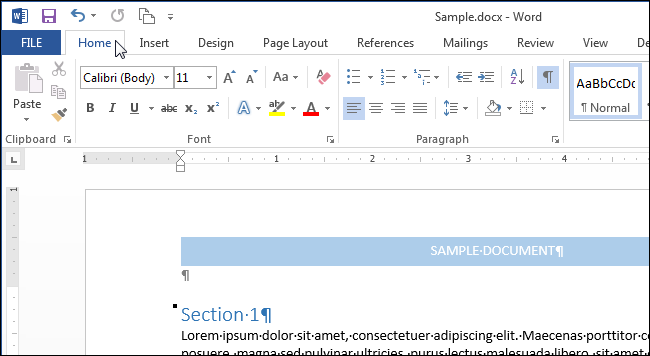
You can also set up Word to automatically collapse certain heading levels by default. To do this, make sure the “Home” tab is active on the ribbon. If it isn’t, click on it to activate it.
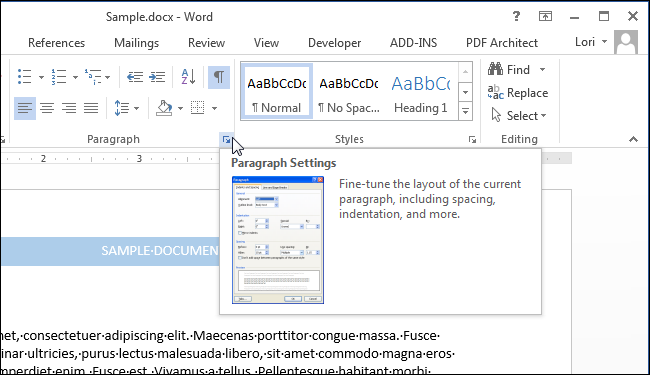
Place the cursor in a heading formatted with the heading level you want to collapse (such as Heading 1) and click the “Paragraph Settings” dialog box button in the “Paragraph” section of the “Home” tab.
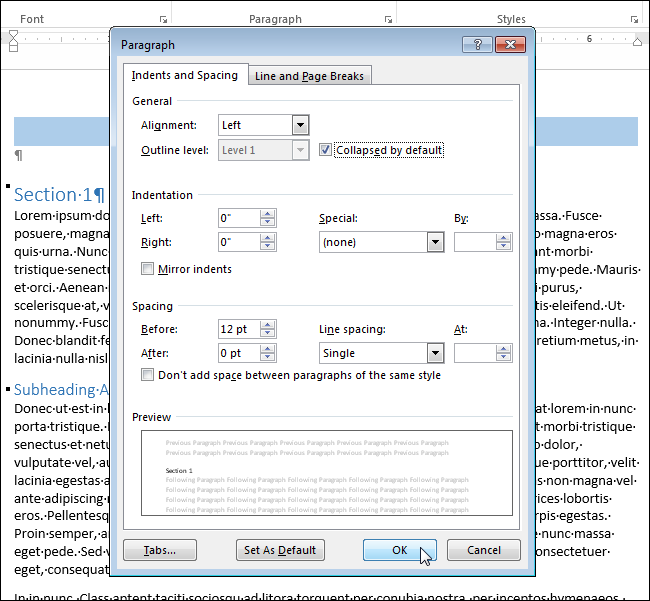
On the “Indents and Spacing” tab of the “Paragraph” dialog box, select the “Collapsed by default” check box to the right of the “Outline level” drop-down list so there is a check mark in the box. If you don’t have the cursor in a heading, the “Collapsed by default” is grayed out and cannot be selected.
NOTE: This change only applies to the current heading and not all headings at the same level, unless you modify the heading style to include this change.
Note that you can only collapse and expand parts of your document when you’re viewing it on your computer. When you print the document, all headings are automatically expanded.
This feature is useful for viewing your document as an outline, although you can also use the Navigation Pane to view an outline of your document and easily jump to parts of your document, as well as to reorganize your document.

