When you install Word, you are asked to enter your name and initials. This user information is stored in Word and you can automatically insert this information into your documents, such as into the return address of an envelope.
We showed you how to set the user information in Word (after installation), which includes your name, initials, and address. You can use fields to insert this information into a document and have it automatically update when you update the user information.
NOTE: We used Word 2013 to illustrate this feature.
To add the user information to your document, place the cursor where you want the insert the information. For this example, we are inserting the user name and address into a table. Click the “Insert” tab.

In the “Text” section of the “Insert” tab, click the “Quick Parts” button and select “Field” from the popup menu.
NOTE: If you don’t see the “Quick Parts” button, the window might not be wide enough to show the text labels. The icon shown on the button below will be visible in the “Text” section and moving your mouse over the icon will display the ScreenTip indicating what the button does, if ScreenTips are enabled.

The “Field” dialog box displays. In the “Field names” list under “Please choose a field,” select either “UserAddress,” “UserInitials,” or “UserName.” In our example, we are inserting the user name first, so we chose “UserName.” In the “Format” list under “Field properties,” you can specify the format of the field. In this case, we chose “Title case” so the name will be capitalized correctly even if it wasn’t entered that way. Click “OK” to accept your selections and close the dialog box.

The user name is inserted as a field at the cursor. This means that if you change the user name in the user information, it will change where you inserted the field as well.

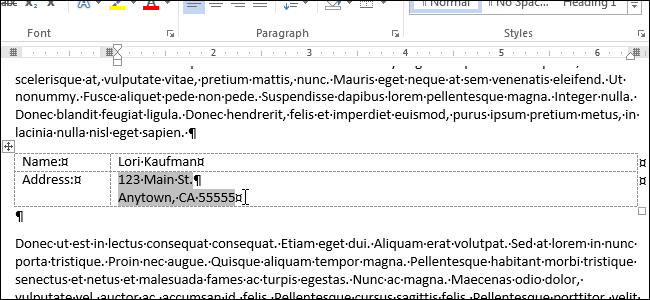
To insert the address, put the cursor where you want to insert it, and follow the same procedure listed above, selecting “UserAddress” in the “Field names” list, rather than “UserName.” The result should look similar to the image at the beginning of this article.