Storage space on your phone or tablet comes at a premium, and you can't fill it up with a bunch of big video files. Fortunately, with Handbrake, you can shrink big video files down to smaller ones; more will fit, and you binge watch longer!
The simple truth is, device storage costs a pretty penny. It's not because it costs more to manufacture, after all you can pick up a 32GB micro SD card for anywhere from $15 to $25. But have a look at any popular phone manufacturer's device memory tiers, and you see that storage pricing far outpaces its real-world cost.
That's not to say that phone or tablet memory doesn't cost something to add to a device, and since its typically soldered onto the SoC (System on a Chip), it's more reliable, fast, and stable than your average run-of-the-mill removable storage medium but, c'mon let's be real, $399 for 128GB of storage?
In this article, we're going to show you how you can create a nice-looking video conversion from a large space-hogging file, into a smaller phone-friendly one. The end result, you can fit more stuff on your device, and feel good about buying the more inexpensive model with less storage capacity.
Handbrake and All Those Presets
We recently covered how to convert a single .MKV file to a more platform-compatible .MP4. We made no attempt to shrink the file or change any of Handbrake's settings.
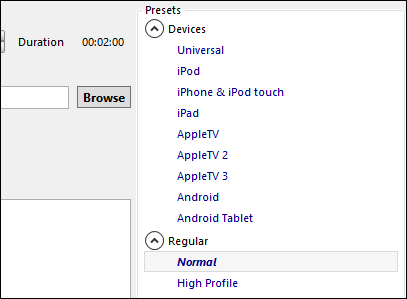
If you read that article, you may have noticed we didn't mention anything about all the presets that are featured prominently on the Handbrake main window.
It's not hard to figure out that these presets will let you quickly configure Handbrake to transcode your existing large video files, to something better suited for your device.
Shrinking Files Down to Size
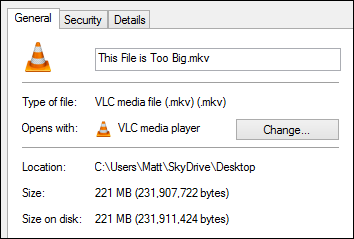
So, let's first choose the file we want to downsize and get started. The file we've picked today is an .MKV file, around twenty-one minutes long, and weighing in at just over 220MB.
First, we click the "Source" button on Handbrake, and then "Open File."
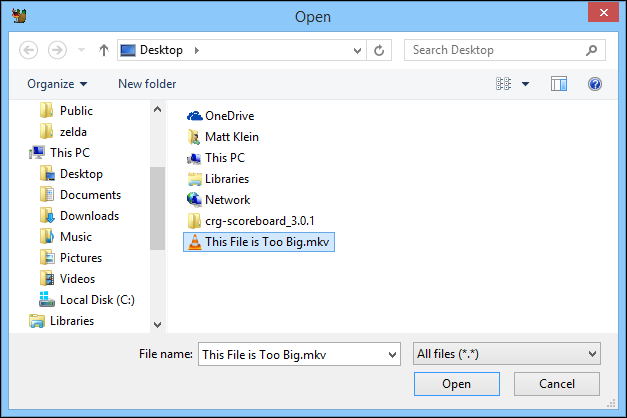
Choose the file in question in the File Explorer window, and click "Open."
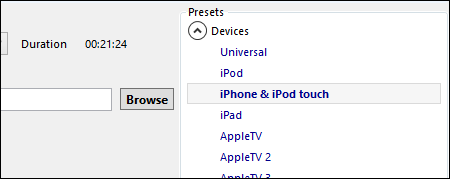
Now, what device are we converting this for? There's only nine choices under the Devices presets, but they're some of the most popular platforms out there. For this demonstration, we're going to simply choose the "iPhone & iPod touch" preset. Handbrake will go ahead and make the necessary changes to the output settings.
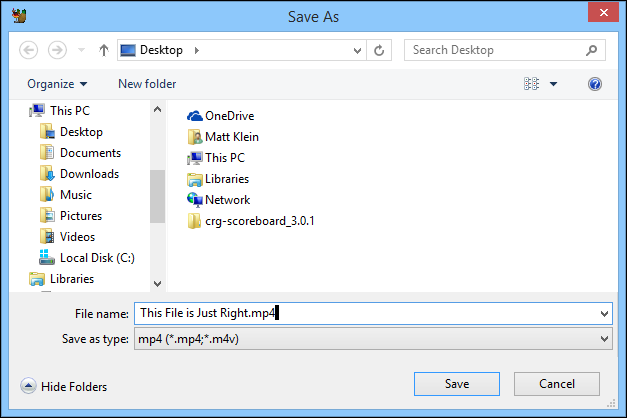
With everything configured and ready to go, click "Browse" and choose the location for your destination. Give your new file a fitting name, and click "Save."
With our file chosen, our preset selected, and our destination picked and named, we will go ahead and click the green "Start" button on the top row.
Handbrake will now start the transcoding process. Depending on the speed of your computer and the size of the file, this can take anywhere from a few minutes, to a few hours. You can get some idea of how long it will take by checking the bottom of the Handbrake application. It will give you important status information on the progress of your job(s).
As we can see, this particular job is going to take about thirty minutes, so we can do other things. Do remember however, if you use your computer for other tasks while you're transcoding a file, it could lengthen the time it takes to complete.
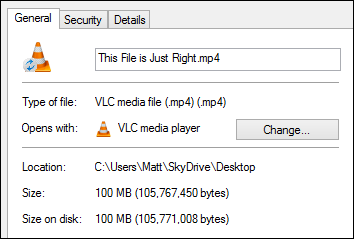
Our job is done and we right-click on our new file. Excellent news, we've managed to save over 120MB!
If we can do that with one file, just think of how much space you will save spread out over several or several dozen files.
All you need to do now is transfer the file or files to your device. If you use an iPhone or iPad, you can use iTunes. If you're sporting an Android device, we recommend the "Send to" method described here.
So, there you have it! We hope this helps you fit more files into your phone or tablet's tiny storage space. Let us know if you use Handbrake or another method to shrink video files down by speaking up in our discussion forum.


