If you work on websites, you'll occasionally need to reset your computer's DNS cache, particularly after editing records or changing hosts. While flushing the DNS cache on Windows is easy with a dedicated command, Mac users have to use a bit of a workaround.
Clear Your DNS Cache on Your Mac
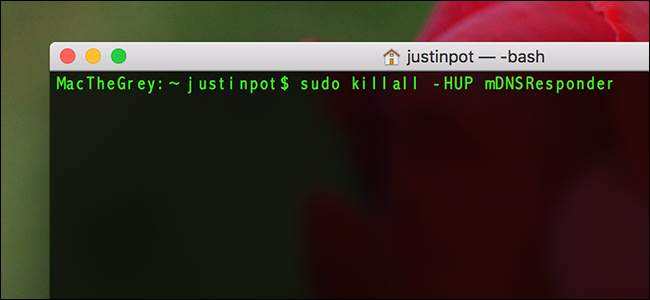
To clear your DNS cache on your Mac, open the Terminal, which you can find in Applications > Utilities or by searching with Spotlight, and then run the following command:
sudo killall -HUP mDNSResponder
Enter your password when it's requested.
So, what does this command actually do? What's happening here is that you're kind of tricking your system into flushing the cache. Wikipedia explains:
The SIGHUP signal is sent to a process when its controlling terminal is closed. It was originally designed to notify the process of a serial line drop (a hangup). In modern systems, this signal usually means that the controlling pseudo or virtual terminal has been closed. Many daemons will reload their configuration files and reopen their logfiles instead of exiting when receiving this signal. nohup is a command to make a command ignore the signal.
Obviously you don't need to know all of the rest of that. But now you do.
There's a lot of conflicting information on the web about this procedure. Some sites claim you need to run more commands than this on High Sierra, for example, while others make this command unnecessarily long. So far as we can tell, however, the command above is all that's actually necessary. Here's how to check your work.
Check if Your DNS Is Actually Reset
Not sure if your DNS reset actually worked? Closing your web browser before flushing the cache can help in some situations, but if that doesn't seem to be working you can quickly verify that your cache is empty in two ways.
The first is site-specific. At the Terminal, type dig followed by the site's URL. For example:
dig howtogeek.com
In the "Answer Section" of the results, you'll see the IP address that your computer knows for the site listed.

If you don't see the new IP address, consider changing DNS settings on your Mac and flushing the cache again.
For a more global (non site-specific) method, you can also confirm that the cache is reset with the Console, which you can find in Applications > Utilities or by using Spotlight. With your system highlighted in the left panel, type "mDNSResponder" into the search box, hit Enter, type "Cache size" alongside that first query, and then hit Enter again. Like this:

Now, with your Console window still open, head back to your Terminal window and run the following command:
sudo killall -INFO mDNSResponder
You should see the DNS Cache size highlighted in the Console window. Now run this command:
sudo killall -HUP mDNSResponder
And then, run this command once again:
sudo killall -INFO mDNSResponder
You should see the cache size change in the Console window. In the screenshot above, you can see that our cache size changed considerably after issuing the commands.