In Windows 7 and 8, there is a Contacts folder in your user directory. This folder can be useful if you have your contacts in a single .vcf file and want to move them into a .csv file for importing into programs like Outlook 2013.
To import contacts from a single .vcf file into your Contacts folder, open the Contacts folder at the following location in Windows Explorer.
C:\Users\%username%\Contacts
On the toolbar, click Import. If the Import button is not visible on the toolbar, click the >> button and select Import from the drop-down menu.

The Import to Windows Contacts dialog box displays. Select vCard (VCF file) from the list and click Import.

On the Select a vCard file for import dialog box, navigate to the folder containing your .vcf file. Select the file and click Open.

The Properties dialog box displays for each contact in the .vcf file. This allows you to change information in or add information to each contact as needed. When you are ready to import each contact, click OK.

Once you have gone through the Properties for each contact in your .vcf file, you are returned to the Import to Windows Contacts dialog box. Click Close to close the dialog box.

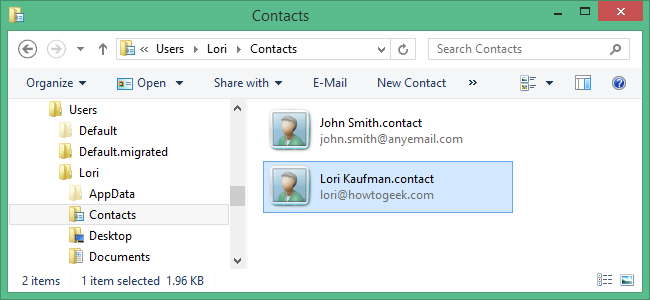
Each contact displays in the Contacts folder as a .contact file.

Now, you can export all your contacts into a .csv file for importing into programs such as Outlook. Click Export on the toolbar in the Explorer window. Again, if the Export button is not visible, click the >> button and select Export from the drop-down menu.

On the Export Windows Contacts dialog box, select CSV (Comma Separated Values) and click Export.
NOTE: You can also create separate vCard files from one vCard file by selecting the vCards (folder of .vcf files).

On the CSV Export dialog box, click Browse.

Navigate to the location where you want to save the .csv file. Enter a name for the .csv file in the File name edit box and click Save.

The path to the .csv file is entered in the Save exported file as edit box. Click Next.

In the Select the fields you wish to export list, select all the fields you want to include in each contact in the .csv file. Click Finish.

A dialog box displays telling you the process was successful. Click OK to close the dialog box.

The Export Windows Contacts dialog box is not closed automatically. Click Close to close it.

Your contacts are now available in .csv format.

You can use the .csv format to import your contacts into programs like Outlook and Excel.