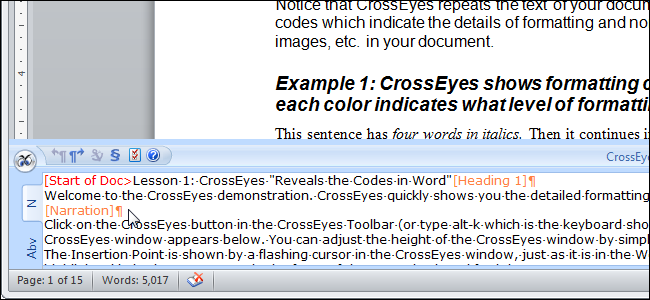
Have you switched to Microsoft Word from WordPerfect? Do you remember the Reveal Codes feature in WordPerfect that made it so easy to see exactly how your document was formatted? Well, you can get that feature now in Word using a free tool called CrossEyes.
NOTE: CrossEyes works in Word 2010 and earlier, but not in Word 2013.
CrossEyes lets you easily identify and resolve any document-formatting problems in Word. No more guessing at how your document is formatted.
Download CrossEyes using the link at the end of this article. Install the add-in, following the instructions in the setup wizard.
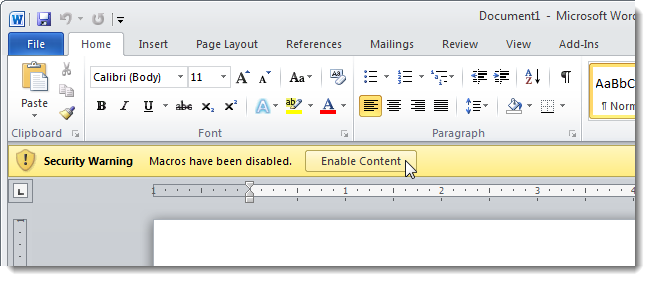
Once CrossEyes is installed, open Word. If you see the Security Warning message displayed below telling you that macros have been disabled, click Enable Content. Without doing this, CrossEyes will not work.
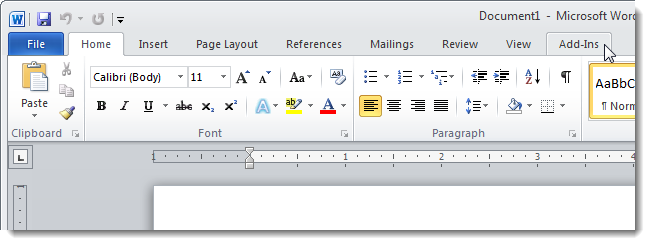
Click the Add-Ins tab.
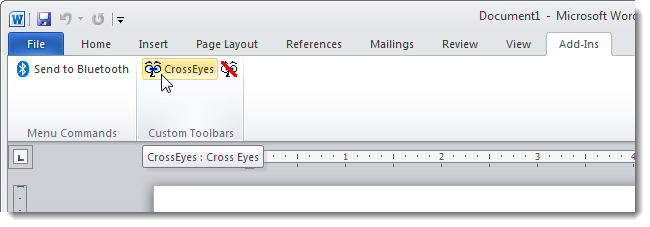
Click CrossEyes in the Custom Toolbars section of the Add-Ins tab.
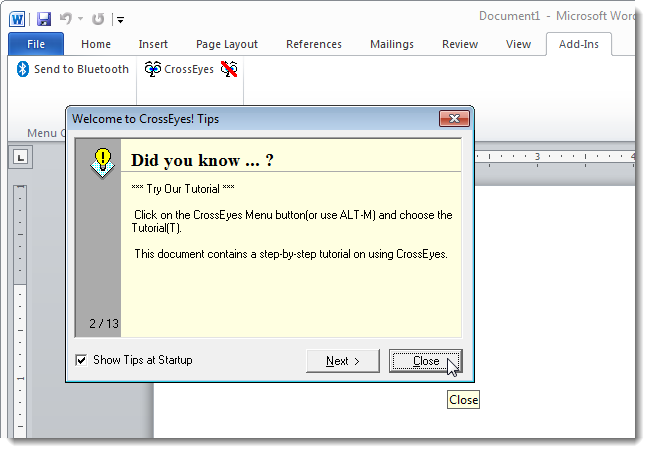
Initially, the Tips dialog box displays. If you don’t want to see this dialog box every time you activate CrossEyes, uncheck the Show Tips at Startup check box. Click Close to close the dialog box.
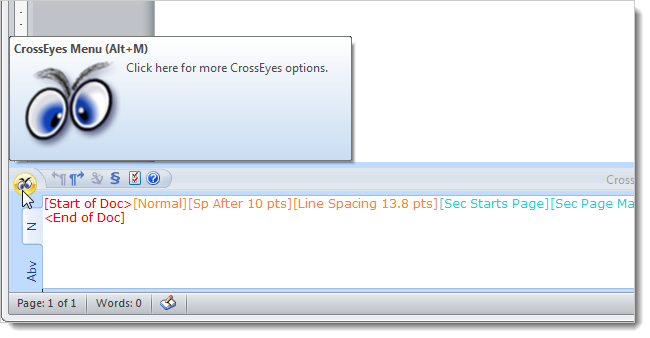
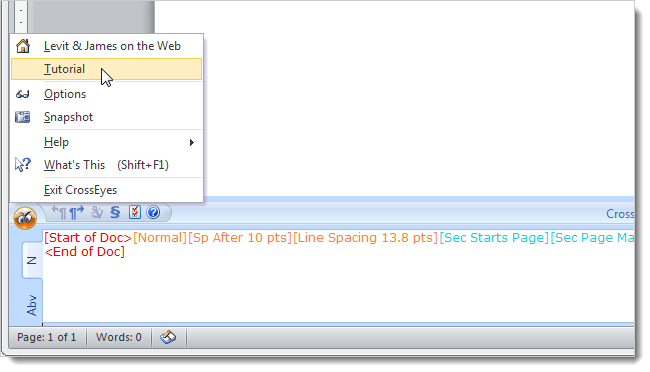
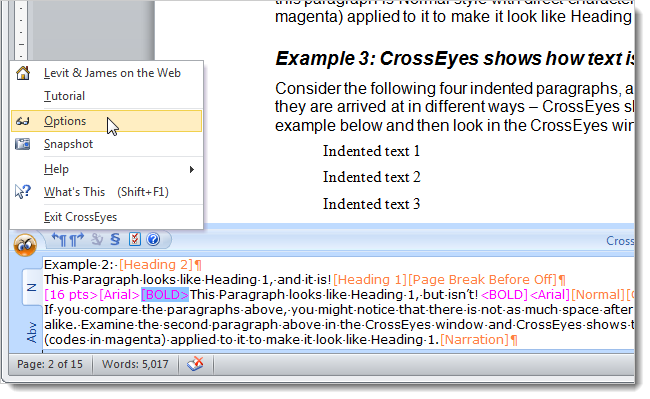
To demonstrate CrossEyes, we will open the Tutorial that comes with the add-in. Click the CrossEyes menu button to access the options for CrossEyes or press Ctrl + M.
Select Tutorial from the popup menu.
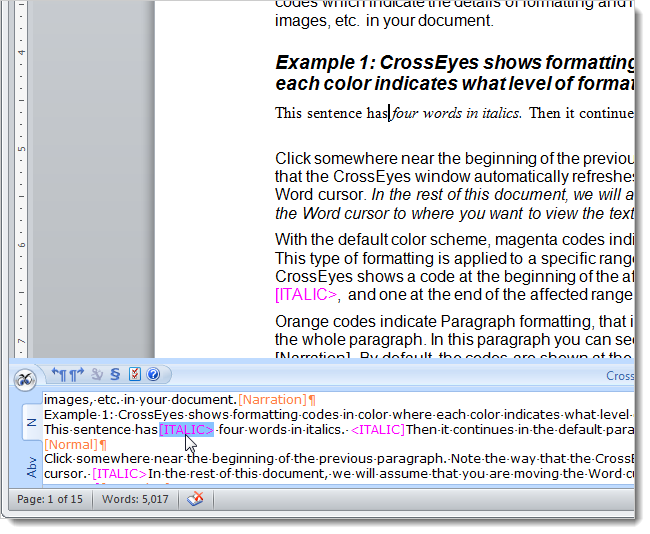
The tutorial opens in Word.
NOTE: When the tutorial opens, the CrossEyes pane at the bottom of the Word window closes. To open CrossEyes again, follow the steps above again.
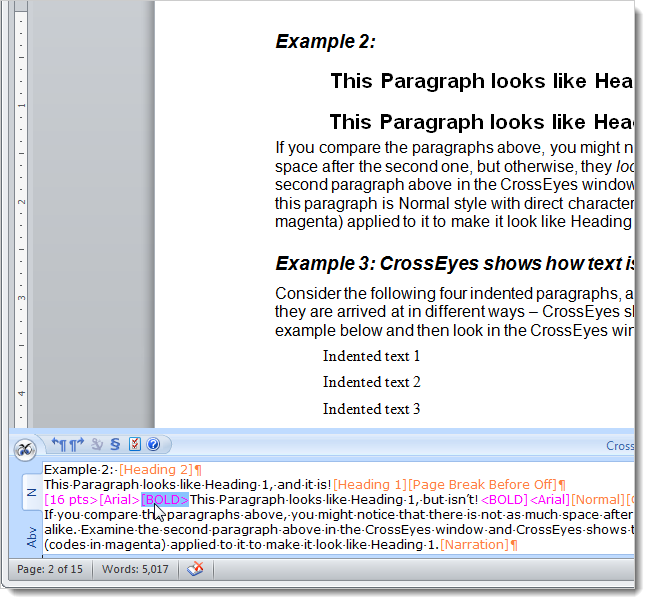
Notice that the formatting displays in color, surrounding the text it applies to, just like the Reveal Codes in Word Perfect.
For example, there are two paragraphs under Example 2 in the tutorial that look exactly alike. However, when you look at the formatting in CrossEyes, you’ll see one is formatted with Heading 1 and the other looks like it is, but has in fact been manually formatted to look the same.
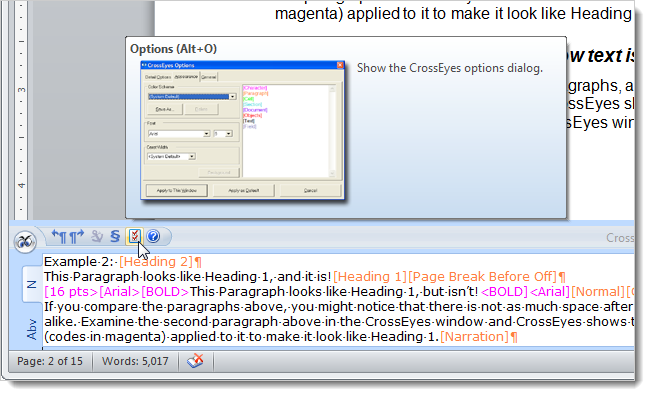
There are options you can set in CrossEyes to customize it. Click the CrossEyes menu button and select Options.
NOTE: You can also click the Options button on the CrossEyes toolbar or press Alt + O (the capital letter O, not zero).
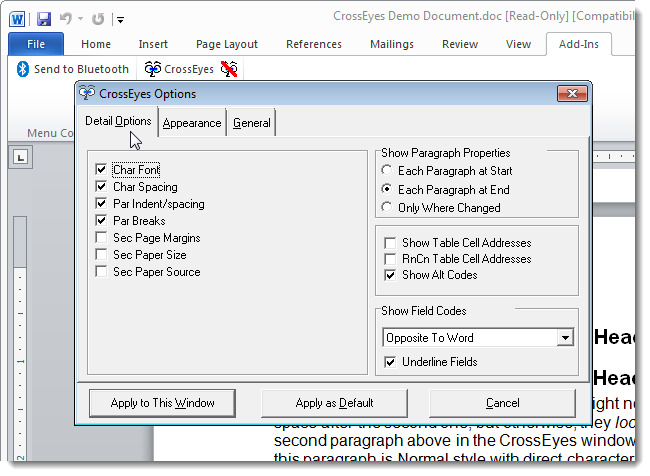
The Detail Options tab allows you to specify which details to display, where to show paragraph properties, and how to show field codes.
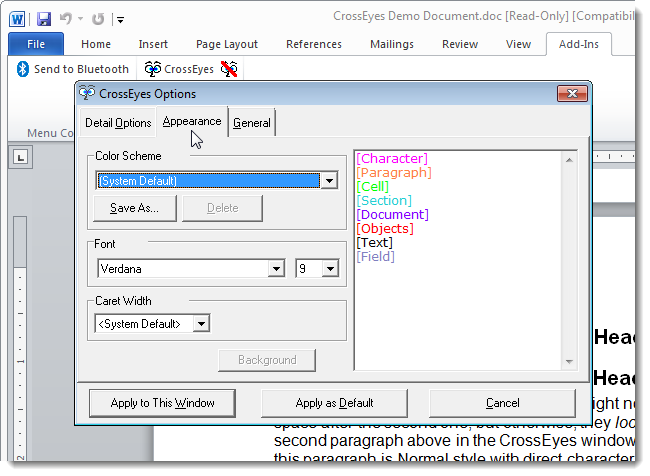
The Appearance tab allows you to change the colors used to display the different categories of formatting, the font to use for the formatting codes, and the width of the caret.
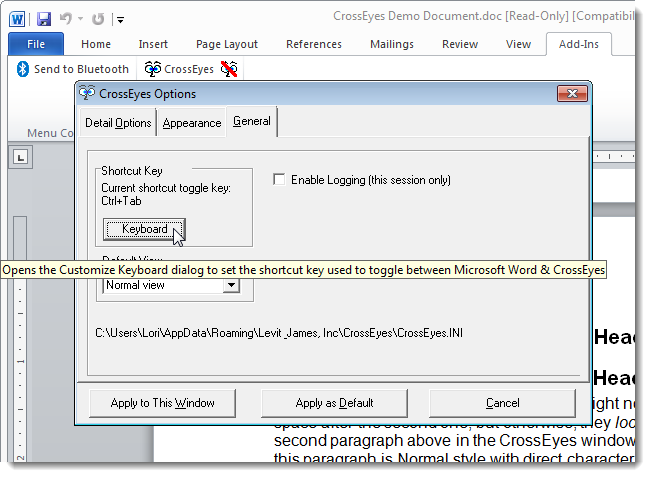
The General tab allows you to change the Shortcut Key used to toggle between the Word document and the CrossEyes pane. You can also select the Default View and Enable Logging.
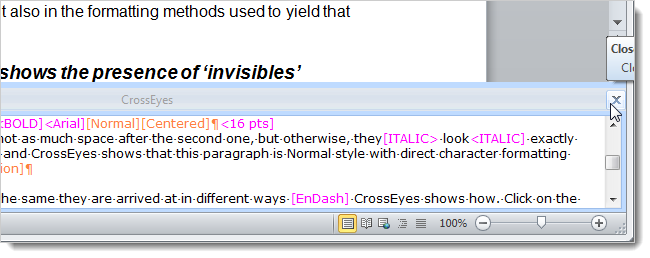
To close the CrossEyes pane, click the X button in the upper, right corner of the pane.
You can also double-click on a formatting code in the CrossEyes pane to open the dialog box used to change that formatting.
Download CrossEyes from http://www.levitjames.com/Products/CrossEyes.aspx.

