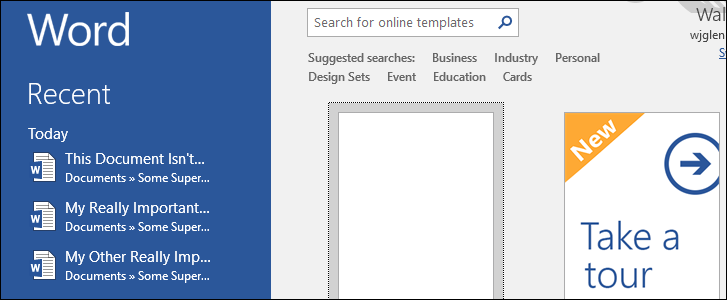
When you open Microsoft Word, a list of recently-opened documents appears on the left side of the screen. You can clear documents from this list or, if you'd rather not see recent documents at all, disable the list entirely.
The recent documents list also shows up when you select the "Open" option from within Word, and on the jump list for the Word taskbar button. Clearing the list clears those documents out of the two locations within Word, but not on the jump list. You'll have to clear the jump list separately. Disabling the recent documents view prevents them from showing up in any of these locations. Here's how to do it.
Clear the Recent Documents List
Clearing the recent documents list is simple. Whether you're on Word's opening splash screen or on the "Open" page when opening a document, right-click on any document in the recent list, and then choose the "Clear Unpinned Documents" option.
Update: In the latest versions of Word 2019 and Word for Office 365, you'll need to click the "Open" icon on the left side of the Word home screen before right-clicking recent documents and selecting this option. This will then delete those recent documents from the Home screen. You can't right-click and clear documents directly from the home screen for some reason.

In the warning box that appears, click the "Yes" button.

This clears all documents from the recent list that you have not pinned as favorite documents.
If you prefer, you can also select the "Remove From List" option on that menu to remove only the document you right-clicked.

Disable the Recent Documents List
Disabling the recent documents list entirely is also pretty straightforward. If you're on Word's opening splash screen, click the "Open Other Documents" link at the bottom left.

Or, if you've already got a document open, click the "File" menu.

Next, click the "Options" command toward the bottom left.

In the "Word Options" menu, switch to the "Advanced" tab.

On the right, scroll down to the "Display" section. Disable the display of recent documents by setting the "Show this number of Recent Documents" option to zero, and then click the "OK" button.

Now, when you open Word (or use the "Open" command within the app), the Recent Documents list should be empty. You should also no longer see recent document listed on the jumplist for the taskbar button.

If you want to re-enable the display of recent documents in the future, go back to that same "Word Options" window and set the number of recent documents you want shown. 50 is the default setting, but you can choose any number between 0 and 50. Just note that when you re-enable the recent document display, any previously-displayed documents will be shown again.