How-To Geek
How to Enable the Delete Confirmation Dialog in Windows 8

If you have just switched to Windows 8, or are about to, and find yourself constantly sending files to the recycle bin by mistake, it’s probably because Microsoft disabled the delete confirmation dialog, here’s how to re-enable it.
Enabling the Delete Confirmation Dialog
Right-click on the Recycle Bin icon on your desktop and select Properties from the context menu.


You need to check the box near the bottom of the Properties dialog that enables the confirmation dialog.


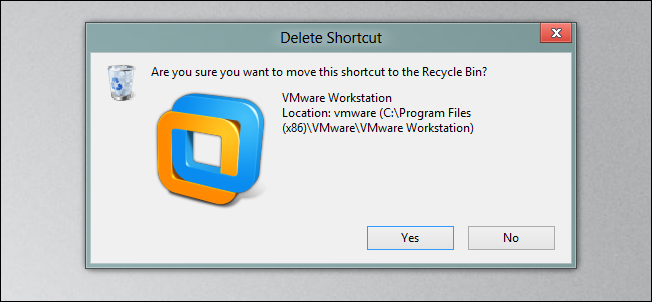
If you now go try and delete something you will immediately be asked if you really want to send the item(s) to the recycle bin.


That’s all there is to it, remember if you want to delete something without sending it to the recycle bin you can always use the Shift + Delete keyboard combination.
Got Feedback? Join the discussion at discuss.howtogeek.com
Comments (9)
Taylor Gibb is a Microsoft MVP and all round geek, he loves everything from Windows 8 to Windows Server 2012 and even C# and PowerShell. You can also follow him on Google+
- Published 08/24/12


Microsoft disabled it on small files only as far as I know. I find what they did really convenient.
I don’t get it on anything. What’s a “small” file to you?
And this is also how you disable/enable it in previous Windows versions.
sometimes you can only move small files to the recycle bin depending on the size of it.
Can I disable the Delete confirmation dialog on Windows 7?
Here’s how to disable the Delete confirmation dialog on Windows 7/Vista
http://www.howtogeek.com/howto/windows-vista/disable-delete-confirmation-dialog-in-windows-vista/
@Amr, yes, read my previous comment.
Is it possible to disable the “delete confirmation” dialog on Windows 7?
Its not that hard to press shift delete for permanent delete.
without confirmation, accidentally press delete send your files to recycle bin. And its very inconvenient to review file for restore in recycle bin.